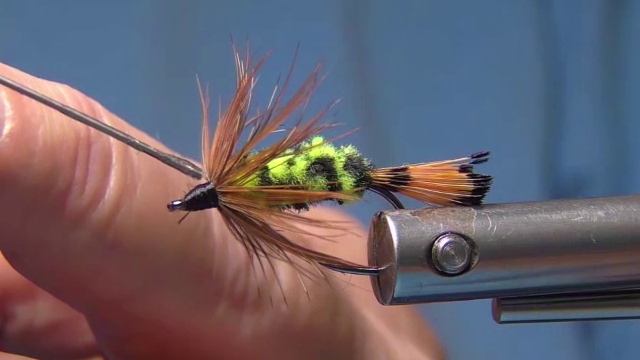
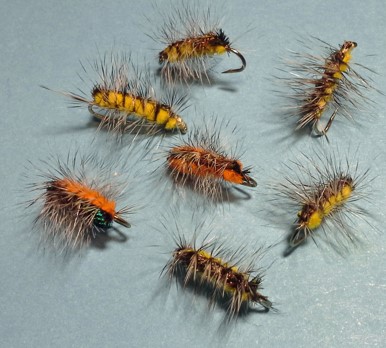
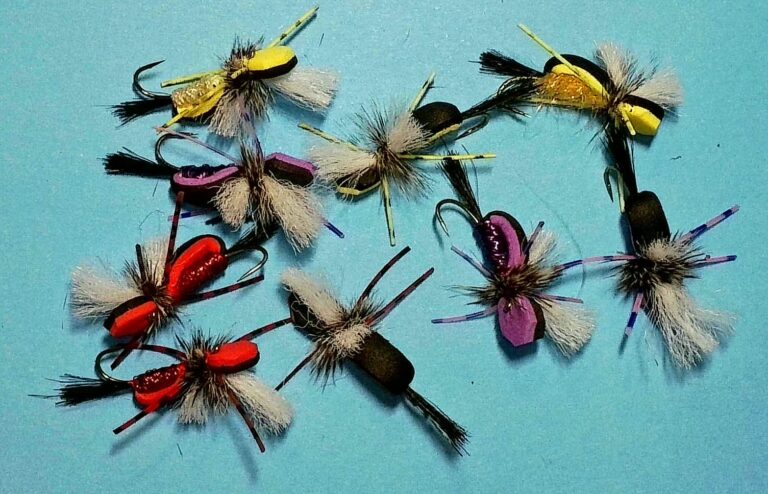
The Aussiefied Cliff’s Lucky Variant is an adaptation of the original Cliff’s Lucky, a classic pattern designed by Cliff Stringer, and it features in the FFI Fly Pattern Encyclopedia.
However, the “variant” twist for this month’s fly comes from Paul using a creative “Aussiefied” approach, as he puts it. What does that mean, exactly? Simply put, it’s about working with the materials you have on hand, rather than seeking out traditional, sometimes hard-to-find ingredients. In this case, Paul takes an innovative spin on the classic pattern while staying true to its core design.
What Does “Aussiefied” Mean in Fly Tying?
Fly tying is an art that often needs specific materials. Finding them can be a challenge, especially when you’re in a different region or lack access. Paul coined the term “Aussiefied” to describe modifying fly-tying materials with local options at hand. It’s about adapting and proving great flies can be tied without exact materials.
While the term was coined by Paul in good humour, we recognise that some substitutions may stray from the original recipe. And for that, we offer a sincere apology to Mr. Stringer for altering his original pattern. Still, the Aussiefied Cliff’s Lucky Variant is a fantastic fly that any angler will appreciate.
Materials
This version of the fly uses a unique combination of materials that are either local or easier to obtain. Here’s the breakdown of what’s used:
- Hook:Firehole size 8
- Thread:Black woolly nylon
- Tail:Golden Lady Amherst Pheasant neck feathers
- Body:Variegated chenille (any combination)
- Soft Hackle:Australian mountain hen wing feather
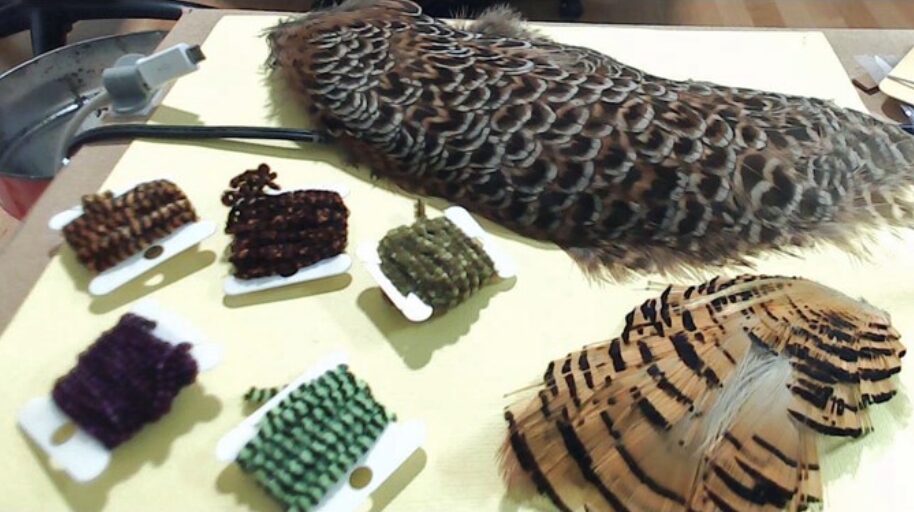
The Story Behind the “Mountain Hen” Feather
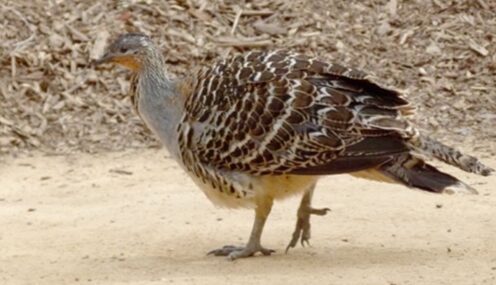
One of the stand-out materials in this fly is the Australian “mountain hen” wing feather, a rare and unusual choice. The name “Mountain Hen” appeared on the packaging from an old-timer’s tying supply, given to Paul as a gift. Upon closer inspection, Paul found the feather came from a bird called the Malleefowl — a stocky, ground-dwelling bird native to Australia, about the size of a domestic chicken (to which it is distantly related).
The Malleefowl is a threatened species across its range. Using this feather in fly tying carries a responsibility. Sustainable practices are crucial today. Although the feather came from old stock, we urge tiers to avoid endangered species and stay mindful.
Tying Instructions
- Cover the Hook with Thread: Secure the hook in the vise. Start your black woolly nylon thread at the eye and wrap it evenly down the hook shank to the bend.
- Tie in the Lady Amherst Feather: Select a whole Lady Amherst Pheasant neck feather. Tie it in so the first black band of the feather sits just over the barb of the hook. This will form the tail of the fly.
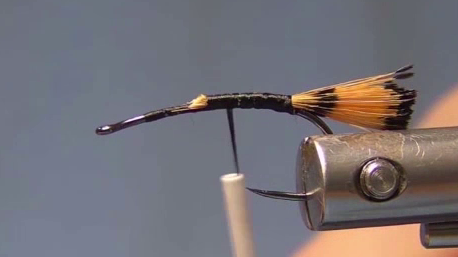
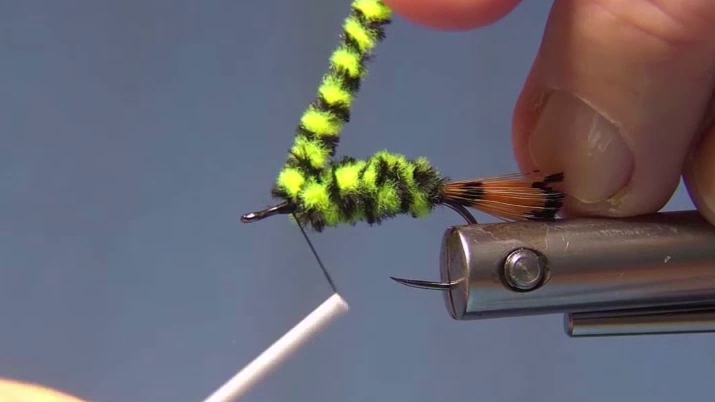
- Tie in the Chenille from Front to Back: Take your variegated chenille and tie it in at the front of the hook (near the eye). Stretch it along the shank toward the back, stopping just short of the black band on the Lady Amherst feather.
- Wrap a Chubby Body: Now, using the chenille, begin wrapping from the back of the hook forward, creating a thick, chubby body. Wrap evenly and stop a short distance from the eye, leaving room for the soft hackle.
- Tie off the Chenille: Secure the chenille at the front of the hook, just before where the soft hackle will be placed. Trim any excess chenille.
- Tie on the “Mountain Hen” Feather: Select an Australian mountain hen (Malleefowl) wing feather, and tie it in by the tips just in front of the chenille body.
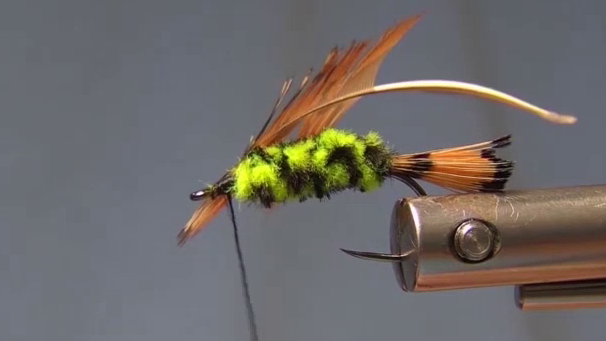
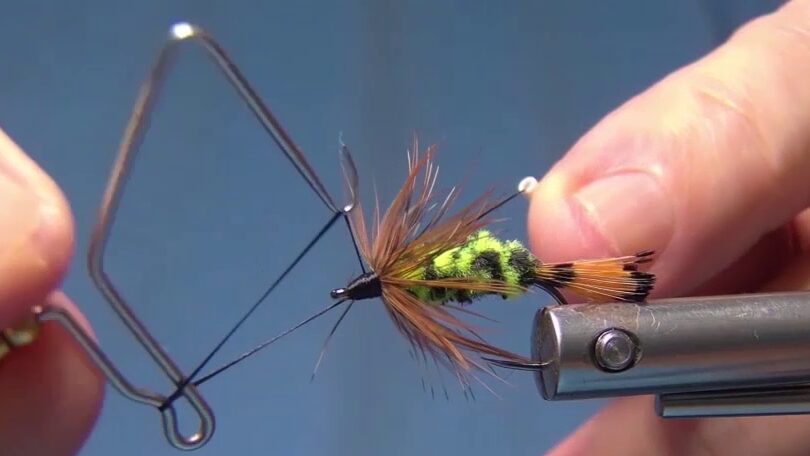
- Wrap the Soft Hackle: Using the mountain hen feather, make at least three turns of hackle around the hook shank. Each wrap should be spread out evenly, creating a soft, flowing collar. Tie it off securely.
- Create a Suitable Head and Whip Finish: After tying off the hackle, form a neat, small head with your thread near the eye of the hook. Use a whip finish tool or your fingers to complete a whip finish, securing the thread.
- Apply Sally Hansen’s Hard as Nails: Add a few drops of Sally Hansen’s Hard as Nails to the head of the fly to protect the thread wraps and ensure long-lasting durability.
