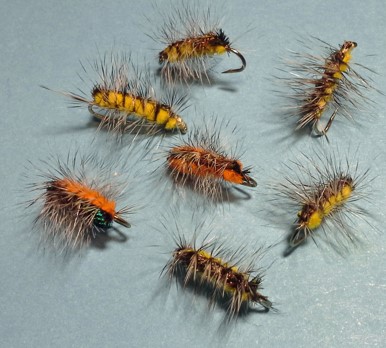
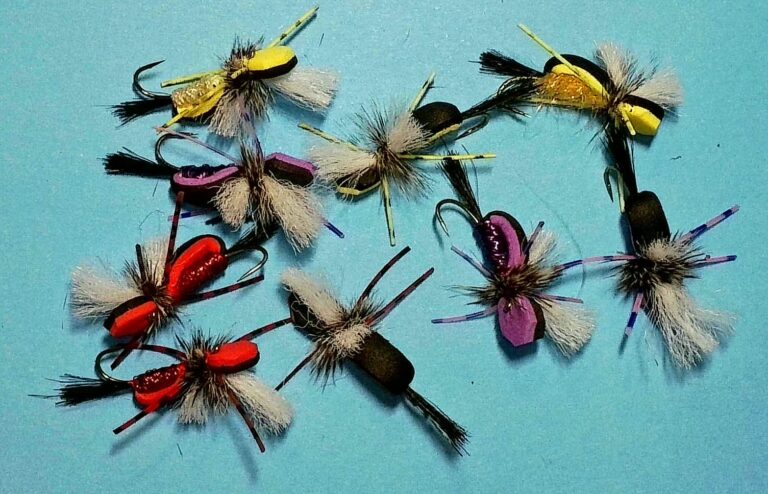
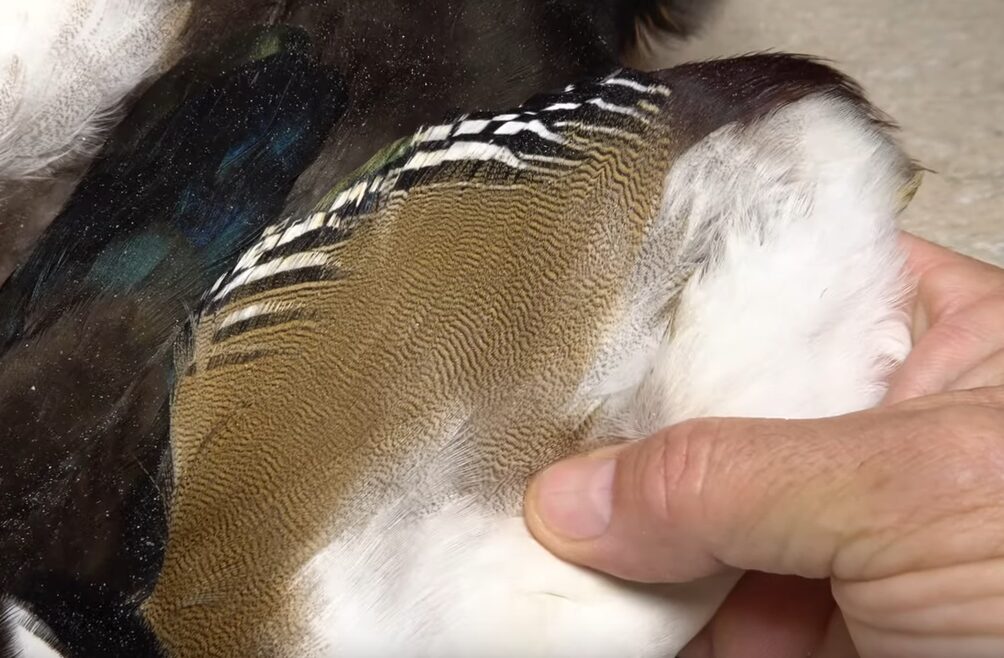
Paul “the Fed” Fedeles shares his love for the Australian Wood Duck, focusing on its feathers, which, he says, are easy to work with and perfect for tying flies. In this video, Paul asks, “Why tie one when you can tie five?” and thus, the Wood Duck Marathon is born!
Gather your materials, sit back, and enjoy hours of fly-tying fun as we walk you through some incredible patterns:
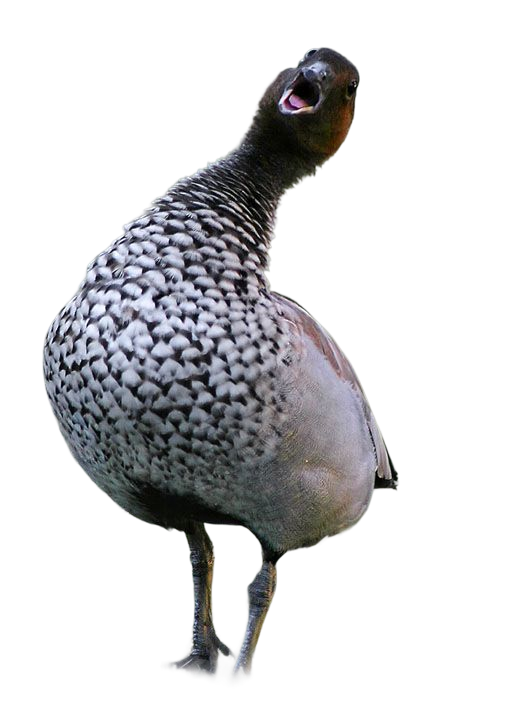
The original patterns and tying techniques are inspired by Tightline Video and Brent Jones Fly Tying.
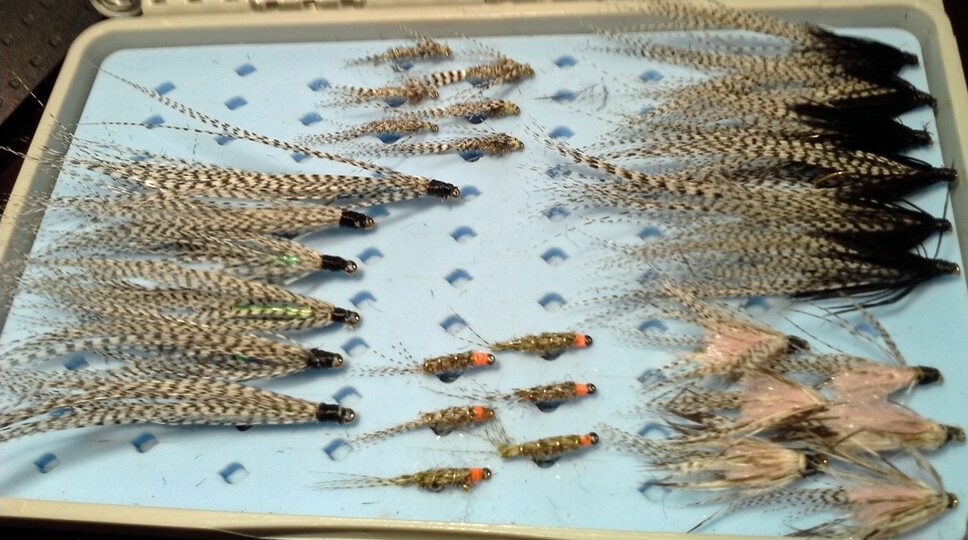
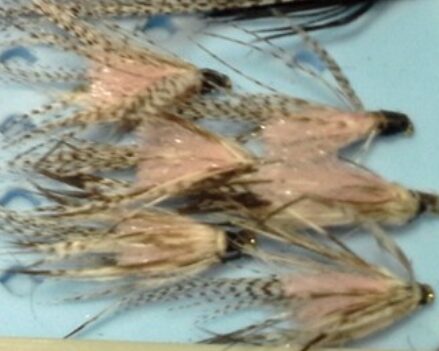
Bottom: Wood Duck Minnow, Wood Duck Scud, Poly Yarn Soft Hackle
When it comes to crafting highly effective and simple fly patterns, Wood Duck feathers are a prized material. These flies utilise a single wood duck flank feather, which adds an enticing blend of natural colour and movement to your fly. Whether you’re targeting trout, salmon, or other freshwater species, these wood duck-based patterns offer versatility and success across various fishing conditions.
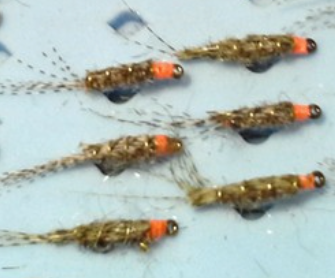
Wood Duck Scud is a quick and easy pattern that works remarkably well, mimicking one of a trout’s favourite food sources—scuds. Found in most bodies of water year-round, scuds are especially effective during early mornings and overcast days when fish actively seek them out. This fly perfectly imitates their natural movement and appearance, making it a must-have in your fly box.
Watch Tim Flagler tie the Wood Duck Scud – Tightline Video
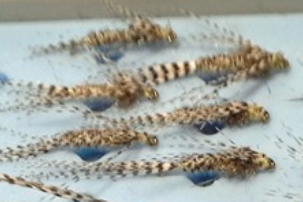
For those looking to mimic mayfly nymphs, the Wood Duck Nymph is designed to replicate the distinctive markings of this essential prey. With dark markings on the tail, legs, wing case, and abdomen, it offers a lifelike presentation that entices trout to strike.
Watch Tim Flagler tie the Wood Duck Scud – Tightline Video
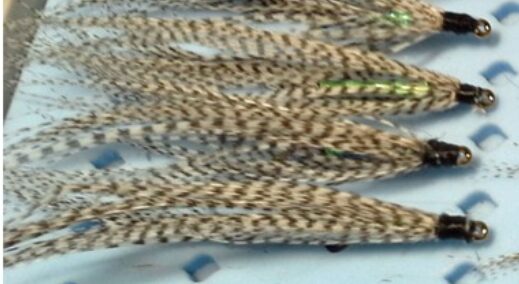
On the baitfish front, the Wood Duck Minnow is an elegantly simple soft hackle pattern. Its minimalistic design makes it versatile for imitating small baitfish, while the natural movement of the wood duck feather enhances its attractiveness to fish in both slow and fast waters.
Watch Brent Jones tie the Wood Duck Minnow
The Wood Duck Heron is a soft hackle baitfish pattern with a clean, elegant design. The soft movement of the wood duck feather mimics the undulating motion of small baitfish in the water, making it a go-to pattern for a variety of fish species, including trout and bass.
Watch Tim Flagler tie the Wood Duck Heron
Lastly, the Wood Duck Poly Yarn Soft Hackle combines the versatility of wood duck feathers with Fed’s favourite material—poly yarn. This pattern brings the best of both worlds, with poly yarn adding buoyancy and texture, while the wood duck feather offers lifelike movement. It’s a highly effective soft hackle fly for various conditions and fish species, making it a staple in Fed’s fly-tying repertoire (he hopes!).
What You Will Need
Hooks:
- Six 2x long nymph hooks, size 16.
- Six 2x long nymph hooks, size 12.
- Six curved hooks, size 12.
- Six scud hooks, size 16.
- Six dry fly hooks, size 12.
- THREAD:Tan, black, and fluoro orange.
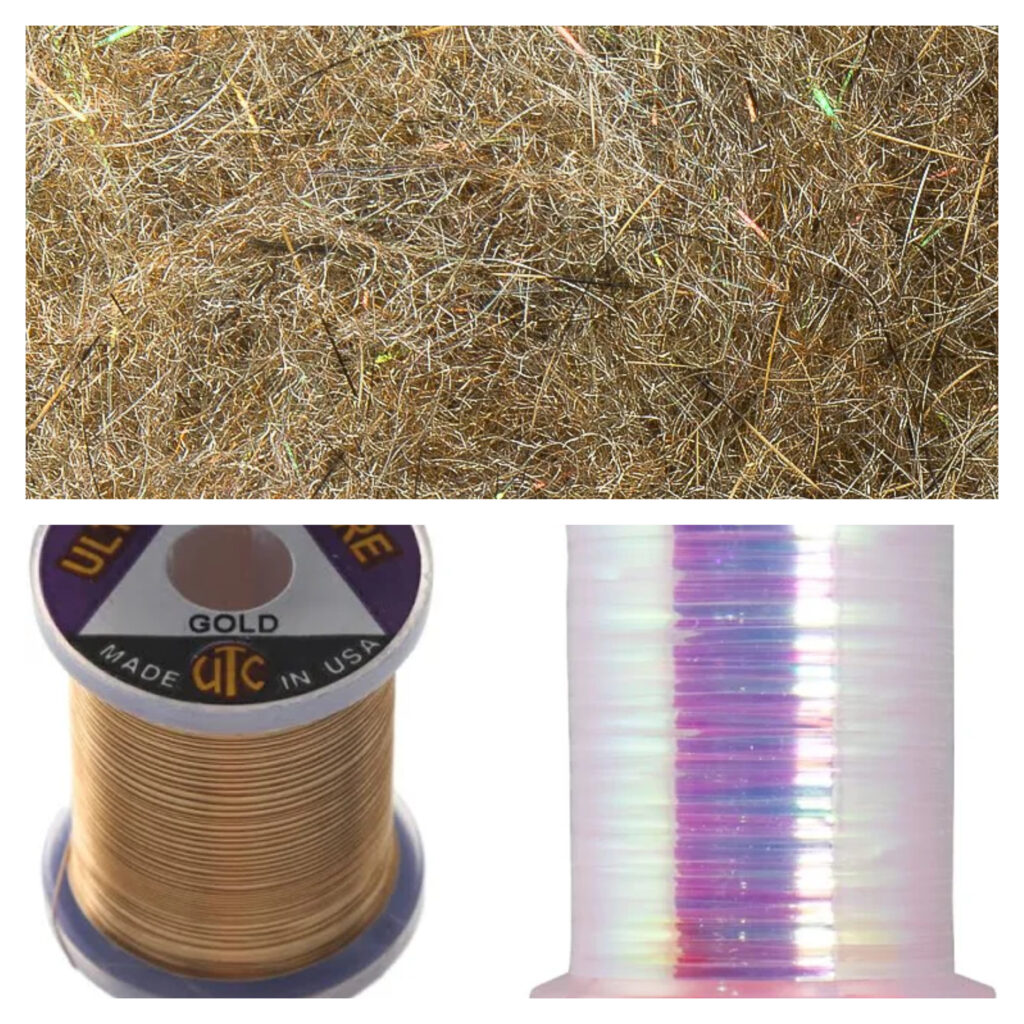
- WIRE:Gold ultra small.
- TINSEL:Flat pearl medium.
- DUBBING:Whitlock SLF sowbug tan.
- SECRET INGREDIENT:Wood Duck feathers.
Wood Duck Scud
Materials:
- Hook:2X short emerger hook, size 16-20
- Thread:Fluorescent orange
- Antennae:Wood duck flank feather fibres
- Over body:Wood duck flank feather fibres
- Rib:Ultra Wire, small, gold.
- Body:Whitlock SLF Sowbug dubbing
Tying Instructions
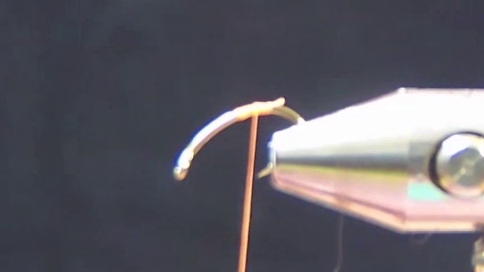
- Crush the barb and secure the hook in the vise at an angle.
- Start the thread halfway down the hook bend and wrap towards the rear.
- Select a wood duck feather, strip off the lower fuzzy fibres, and pull about twenty fibres from one side. Cut the butt ends square.
- Place the fibres horizontally at the tie-in point, extending about a hook gap back. Pinch-wrap them to form the scud’s antennae.
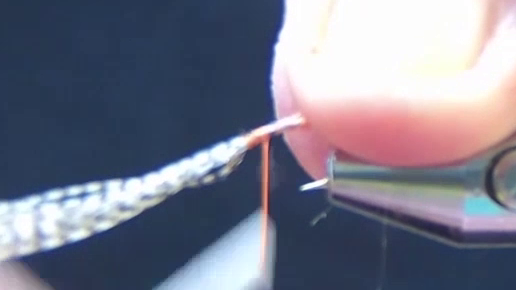
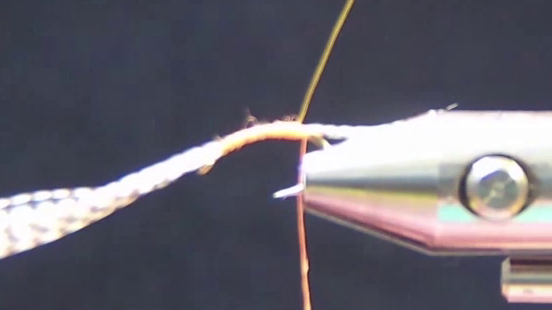
- Reposition the hook normally and wrap the thread forward to secure the fibres, leaving a small space behind the eye. Wrap thread back to the hook point.
- Take 15 cm of gold ultra wire, secure it to the hook’s side, and wrap back to the wood duck fibres.
- Use smoky olive scud dubbing, form a tapered 4-inch noodle on the thread, and wrap it from the base of the antenna to the wood duck fibres at the front.
- Lift the wood duck butts, wrap them in front, and pass the wire under the hook shank without disturbing the antennae.
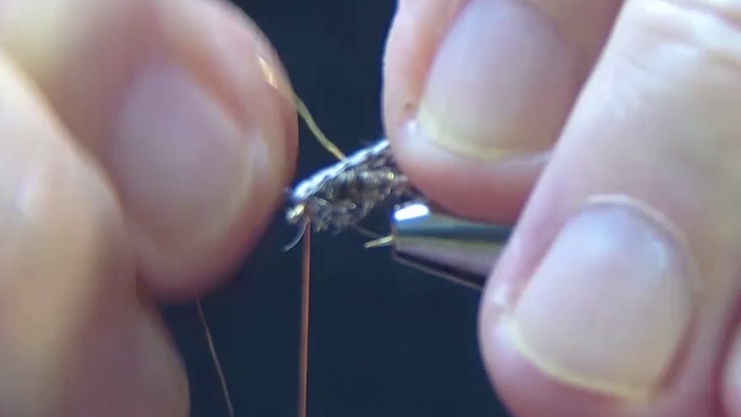
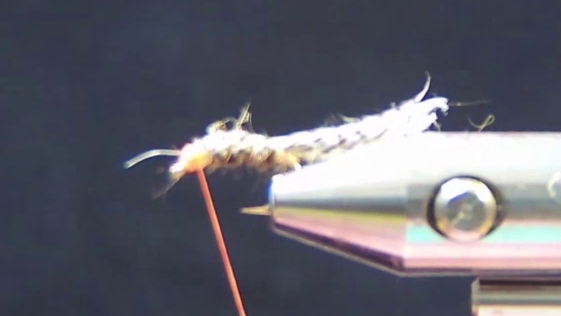
- Pull the wood duck fibres over the body, secure them with wire, and wrap the wire in spirals to segment the body.
- Secure the wire with tight wraps, then twist and break it off.
- Whip-finish with a few wraps and snip off the thread.
- Trim the wood duck butts to leave a short length behind the first wire wrap.
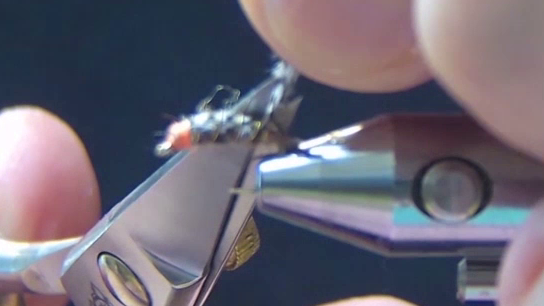
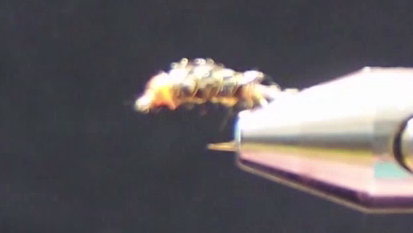
- Apply a coat of Sally Hansen’s to the wood duck fibres and thread wraps for durability.
- Brush out the underside of the dubbing for legs and feelers with Velcro or a dubbing needle.
- Trim any extra-long fibres, using an imaginary line from the hook eye to the point as a guide.
Wood Duck Nymph Variant
Materials:
- Hook:2X long hook, size 16
- Thread:Tan, 6/0 or 70-denier
- Tail:Wood duck flank feather tip
- Rib:Ultra Wire, small, gold.
- Body:Wood duck flank feather fibres
- Legs:Wood duck flank feather fibres
- Thorax:Whitlock SLF scud dubbing, tan.
Tying Instructions
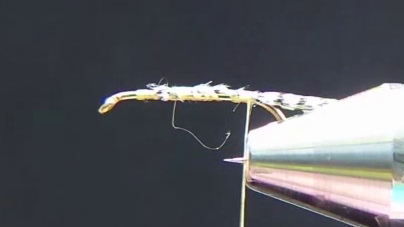
- Secure the hook in the vise and start the tan thread behind the hook eye, wrapping it rearward to the middle of the shank.
- Snip the tip of a wood duck feather and measure a tail about the length of the hook shank. Tie it in and wrap rearward to the start of the hook bend.
- Secure an 8-inch length of gold ultra wire along the near side of the hook, wrapping it back to the base of the tail.
- Strip fibres from the wood duck feather, align them, and tie them in at the base of the tail. Wrap the fibres forward to form a tapered body, stopping two-thirds up the shank.
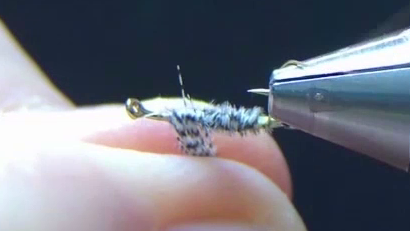
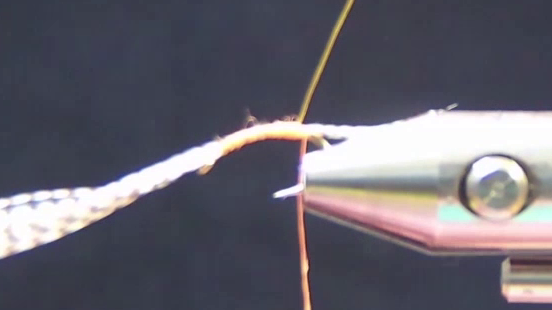
- Secure the wood duck fibres and snip the excess. Wrap the gold wire in open spirals to segment the body, securing it at the thread position and breaking off the excess wire.
- Strip more wood duck fibres, align the tips, and tie them in on top of the hook, extending slightly beyond the hook eye.
- Dub a small amount of natural hare’s mask to form the thorax, leaving space behind the hook eye.
- Sweep the wood duck fibres back on both sides to form the legs and secure them in place.
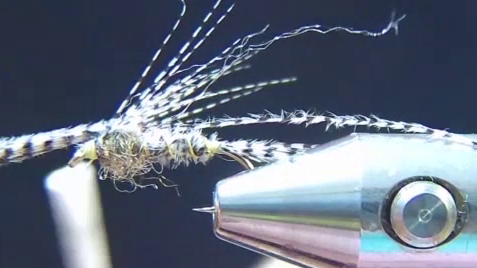
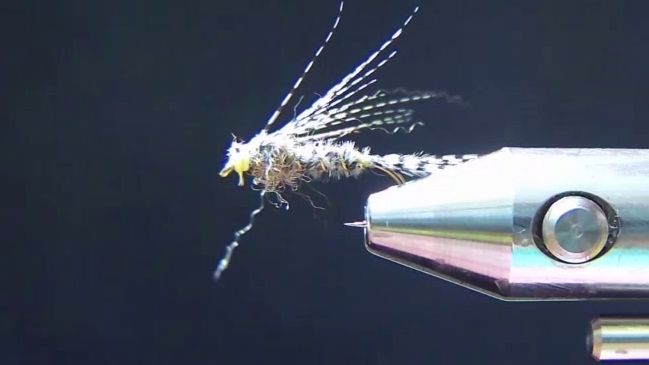
- Pull the remaining wood duck fibres over the thorax to form a wing case and tie them down, trimming the excess.
- Clean up the head area with a few wraps and whip finish.
- Apply head cement or Sally Hansen’s to the wing case and head for durability.
Wood Duck Minnow
Materials:
- Hook: Curved size 12
- Thread: Black
- Pearl tinsel
- Wood duck wing feather
Tying Instructions
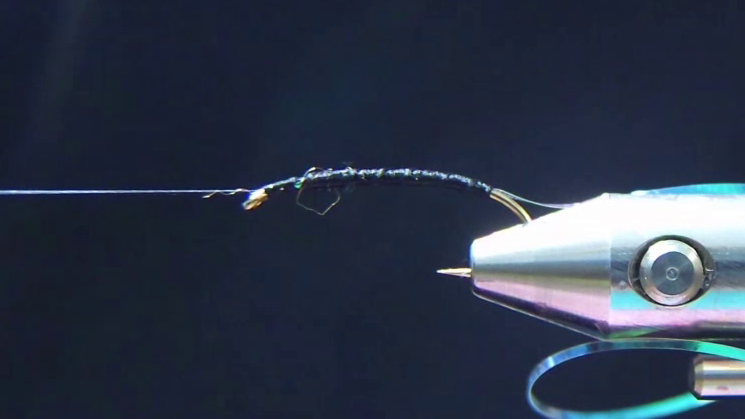
- Hook and Thread
- Use a size 12 curved hook or similar (sizes 10, 12, 14, 8).
- Start your black ultra-thread (70 denier) a little behind the hook eye, wrapping backward and trimming the excess.
- Add Tinsel
- Tie in some medium-sized per tensile near the hook eye, then wrap your thread backward to the barb, creating an even underbody.
- Wrap the thread forward to create a smooth base for the tinsel.
- Reinforce with Glue
- Apply a thin layer of superglue along thread wraps for durability.
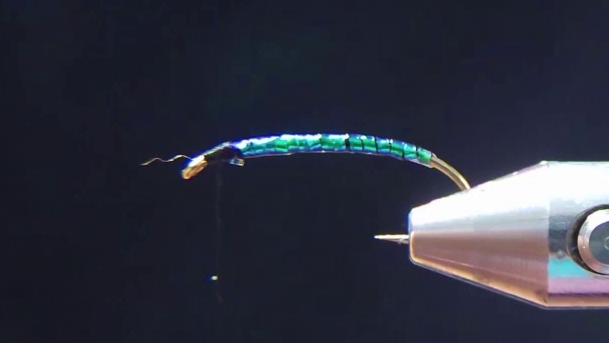
- Wrap the Tinsel
- Wrap the tensile forward to create the body of the fly.
- Secure it with a few thread-wraps at the front and trim off any excess tinsel.
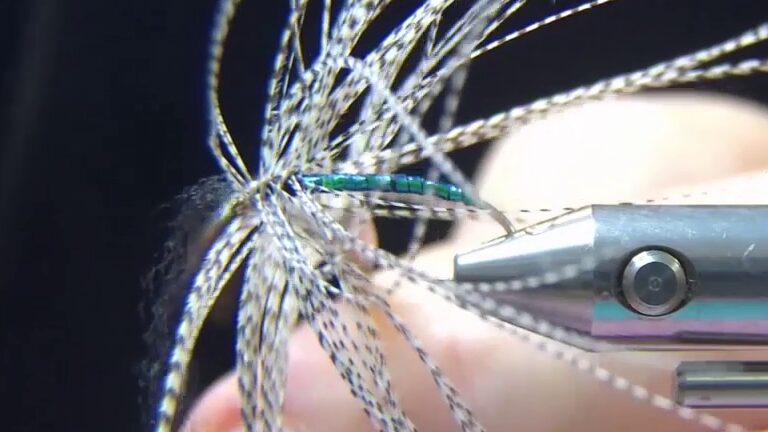
- Add Wood Duck Flank Feathers
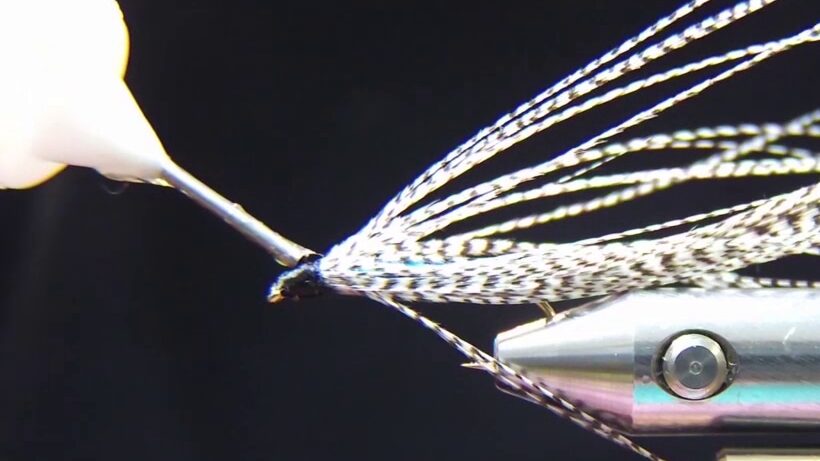
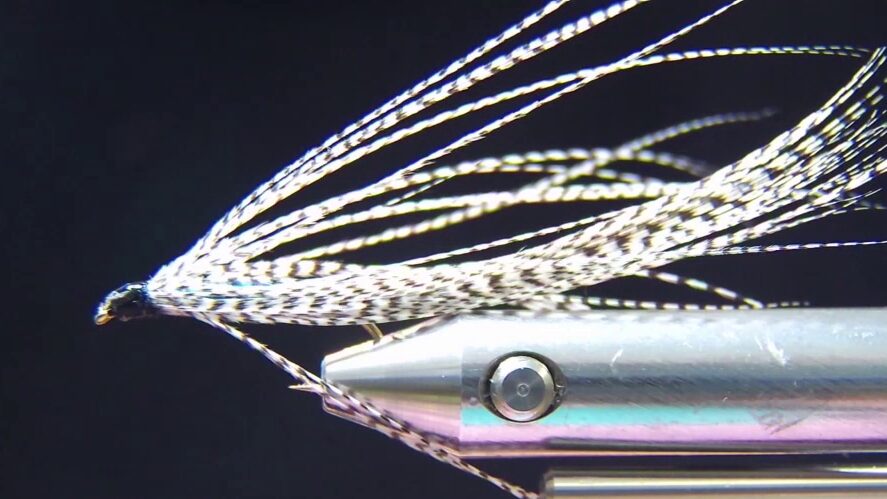
- Take a piece of wood duck flank (already stripped), separate the fibres, and tie it in by the tip, then reverse the fibres and secure them.
- Wrap the Hackle
- Fold or double the hackle fibres before wrapping them around the hook. You can strip one side of the hackle to make it sparser, especially for smaller hooks.
- Shape the hackle as you wrap, and if necessary, you can reshape it by wetting it and letting it sit overnight.
- Form the Head
- Strip off the hackle fibres at the front, cross your thread over a few times, and tie off to form the head.
- Optionally, add a pair of eyes using glue for a more realistic look.
- Finish the Fly
- Build up the head with a few more thread wraps, then whip finish and trim the thread.
- Optionally, add a bit of UV resin for weight or extra durability.
- Final Touches
- Wet your fingers and stroke the fibres back into shape. Let the fly sit overnight to hold its shape
Wood Duck Heron
Materials:
- Hook:3X long nymph hook, size 12
- Thread:Black woolly nylon
- Tail:Wood duck flank feather
- Collar:Brown soft hackle hen feather
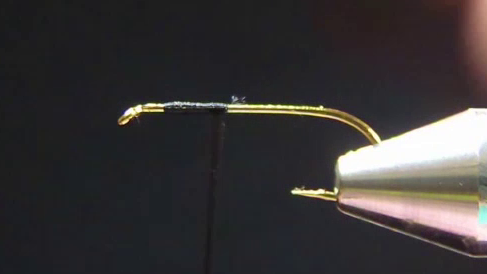
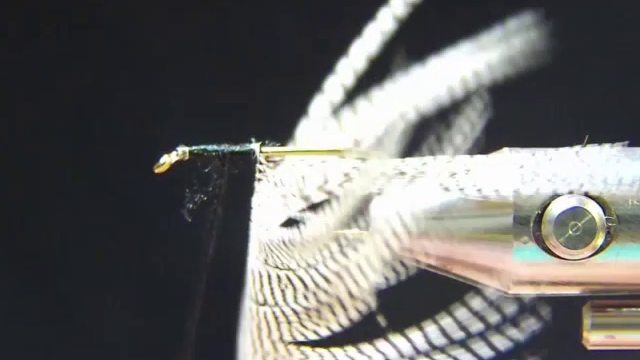
- Hook: Pinch the barb and secure the hook in the vise.
- Thread: Start the thread about one hook eye-length behind the eye and wrap rearward, trimming off the tag end. Continue wrapping until you’re about halfway down the hook shank.
- Tail (Wood Duck Flank):
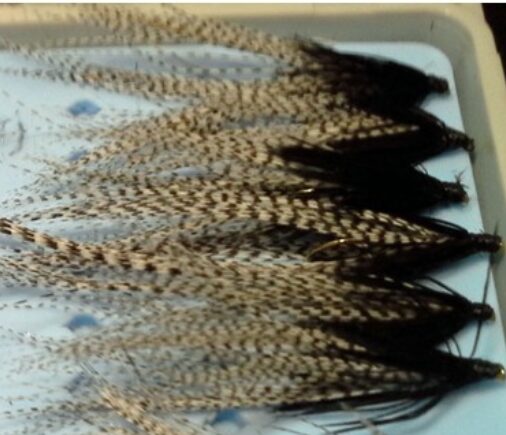
- Select a well-marked wood duck flank feather with long fibres.
- Strip away the lower fuzzy fibres.
- Expose the tip by pulling down the lower fibres and trim the tip to create a small triangular tie-in anchor.
- Tie the anchor in on the near side of the hook, securing it with thread wraps.
- Body:
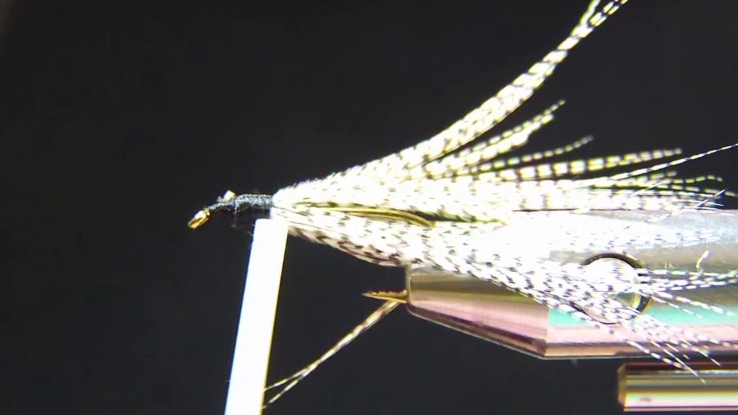
- Use hackle pliers to grab the stem of the feather.
- Pull the stem vertically while squeezing the fibres back with your fingers to fold the feather.
- Make open spiral wraps up the hook shank, keeping the shiny side of the fibres facing outward.
- Stop wrapping when you reach the bare stem, secure it with thread, and trim off the excess.
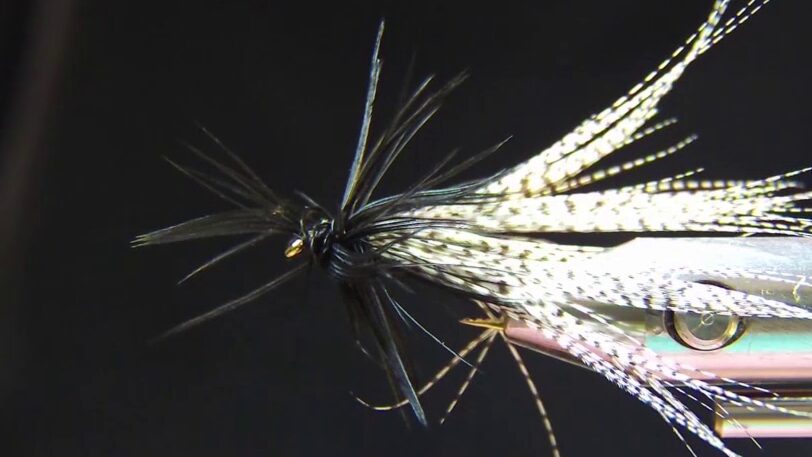
- Collar (Brown Soft Hackle Hen Feather):
- Choose a hen feather with fibres roughly as long as the hook shank.
- Strip the lower fuzzy fibres and trim the tip to create another triangular anchor.
- Tie in the feather at the same point where you tied in the wood duck feather.
- Fold the fibres and make wraps like the wood duck feather but on a smaller scale.
- Secure the stem with thread and trim the excess.
- Finish
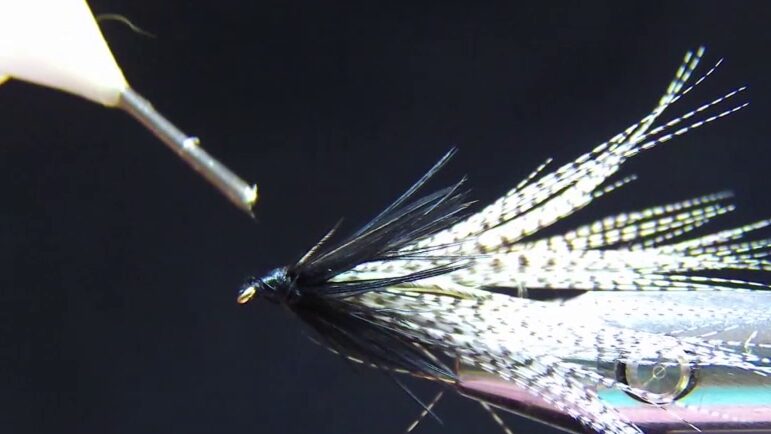
- Sweep the hackle fibres back and build a small, neat head with thread.
- Whip finish (5-6 turns), secure the knot, and trim the thread.
- Optionally, apply a drop of head cement to the thread wraps for durability.
Wood Duck Poly Yarn Soft Hackle
Materials:
- Hook:Dry size 12
- Thread:Sheer black 14/0
- Tail:Wood duck flank feather
- Wing:Pink Poly Yarn
- Hackle:Wood duck breast feather
Tying Instructions
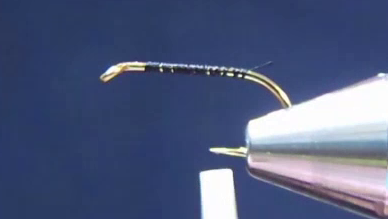
- Crush the barb and secure the hook in the vise.
- Start the thread near the hook eye and wrap it along the shank
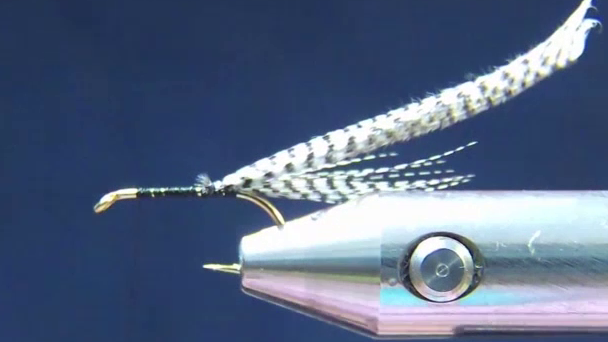
- Tie in the wood duck feathers, ensuring the tips extend about one hook shank’s length beyond the bend.
- Fold the remaining fibres back and secure them with thread wraps
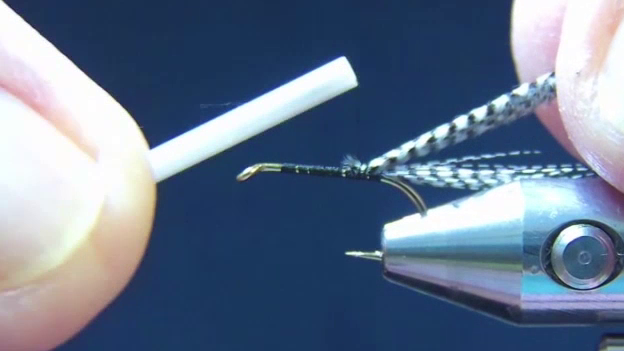
- Wrap the body using the feather’s long fibres and tie off a few millimetres behind the eye.
- Trim the excess feathers..
- Tie in the pink poly yarn for the wing or post
- Tie in the hackle, make a few wraps to create a collar.
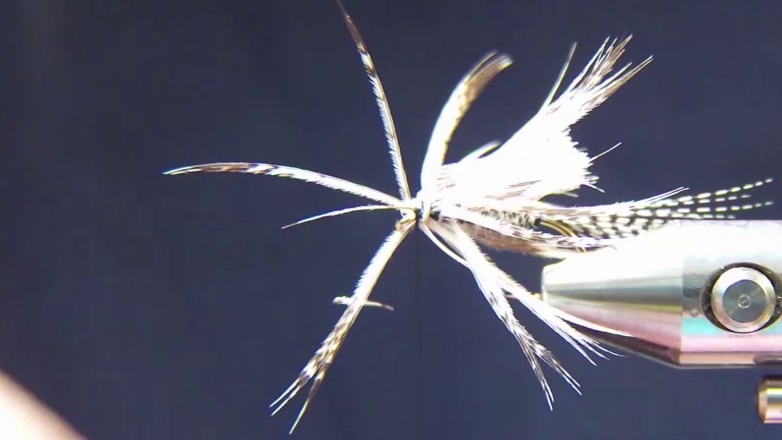
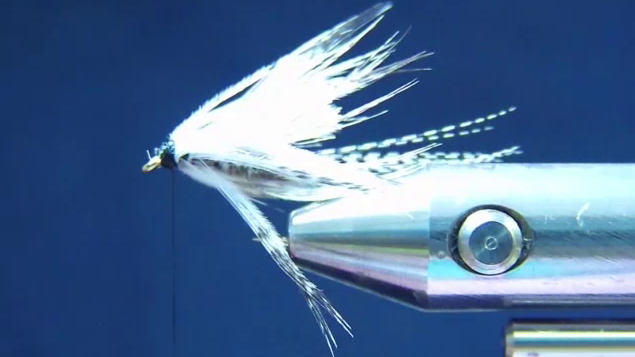
- Finish by forming a neat head.
- Apply Sally Hansen’s Hard as Nails to the head for durability.


