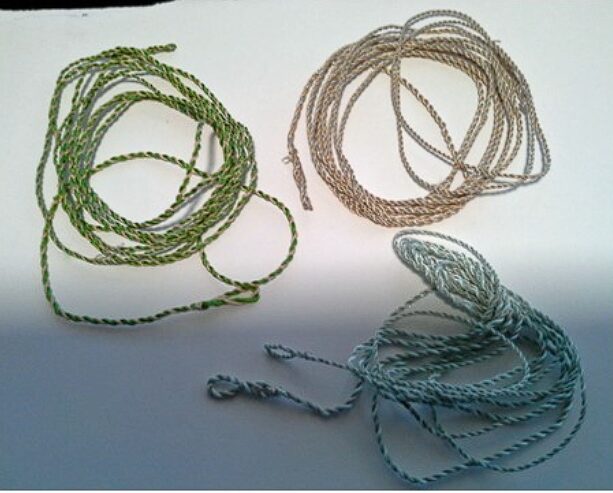
Creating your own furled braided leaders can be a rewarding and cost-effective way to improve your fly fishing experience. In this guide, Paul Fedeles shows you how to craft durable, custom leaders using embroidery thread and a few basic tools. Whether you’re a beginner or an experienced angler, this step-by-step tutorial will walk you through the process.
Why Hand-Furled Braided Leaders?
Furled leaders offer a number of advantages over traditional monofilament or fluorocarbon leaders. They are more durable, provide better energy transfer for casting, and offer a smooth turnover, especially in windy conditions. Plus, making them yourself allows you to customise the length, taper, and stiffness to suit your fishing needs.
Components You’ll Need
Before you begin, gather the following items:
- Embroidery thread: The main material for the leader.
- 2 clamps: One for securing to the door and one for tightening the thread.
- 2 stainless steel cup hooks: For guiding and furling the thread.
- A drill: With a small cup hook attached to hold and twist the thread.
- Scissors: To trim the thread.
- 2 nit pickers: One large and one small, for making loops and tightening the furled leader.
- Pliers: Used as a weight to maintain tension during furling.
- A long board: At least 2 metres, with pegs or nails at different distances to guide the furling process.
Tips for Success
- Practice Makes Perfect: Don’t be discouraged if your first attempt doesn’t come out perfect. With practice, you’ll be able to create consistent, high-quality leaders.
- Customise Your Leader: Adjust the thread thickness and taper to match your fishing environment and target species.
- Use Quality Materials: The durability of your leader depends on the quality of the thread and the precision of your furling.