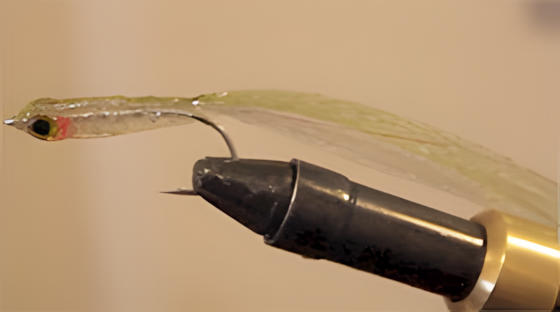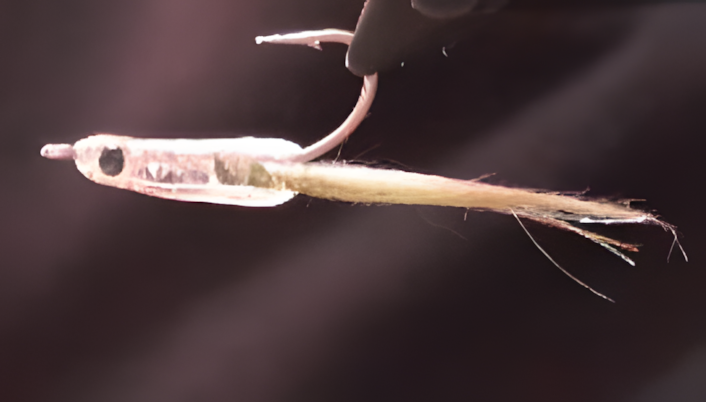

The “All Clear” Eyes Fly is a Central Coast Fly Rodders pattern, originally tied for Australian Salmon and other species found in their local waters. However, it has also proven equally effective in estuary fishing when tied in smaller sizes. It’s particularly useful when there are large numbers of very small baitfish around, especially when salmon are feeding on whitebait and anchovy fry and seem reluctant to take other patterns.
Its combination of sparse synthetic fibres, a reflective tinsel body and prominent eyes creates a convincing imitation of tiny baitfish. The body is formed using Selleys All Clear, a clear silicone sealant that provides an inexpensive alternative to epoxy and is particularly easy to work with when tying multiple flies.
Fishing the All Clear Eyes Fly
The “All Clear” Eyes Fly really comes into its own when Australian Salmon are feeding on very small baitfish.
At times, salmon can become particularly selective, concentrating on tiny whitebait or anchovy fry while ignoring larger baitfish imitations. When this happens, a small, sparse fly can make all the difference.
Dawn Hopkins regards the All Clear Eyes Fly as her go-to saltwater pattern, second only to the Jelly Belly Minnow, and a must-have for fishing Lake Cathie.
When small baitfish are abundant, keep the fly small, slim and relatively flat, with a tubular profile and sparse tail. Sizes 6 – 10 are particularly useful for matching the tiny baitfish salmon are feeding on. If necessary, the tail can be trimmed back on the water to better match the size of the baitfish, so carry a pair of stainless-steel scissors.
Materials
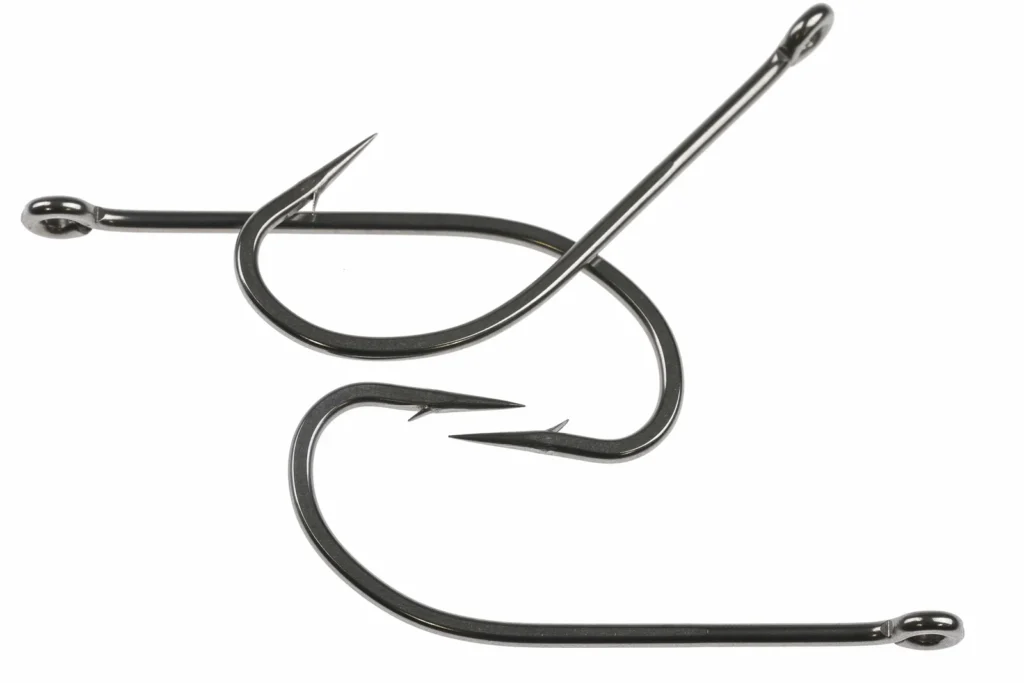
- Hook:Stainless saltwater hook, e.g. Daiichi 2546 #6 – 10
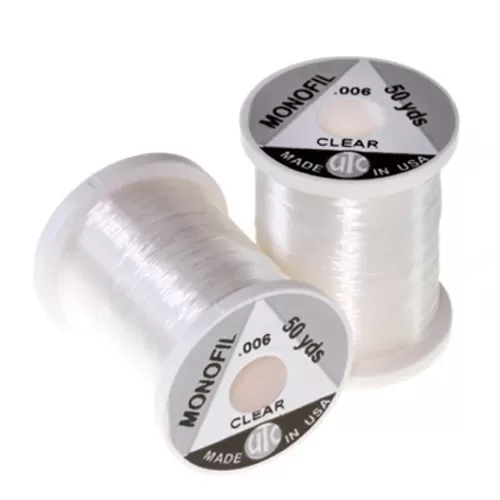
- Thread:Fine monofilament thread
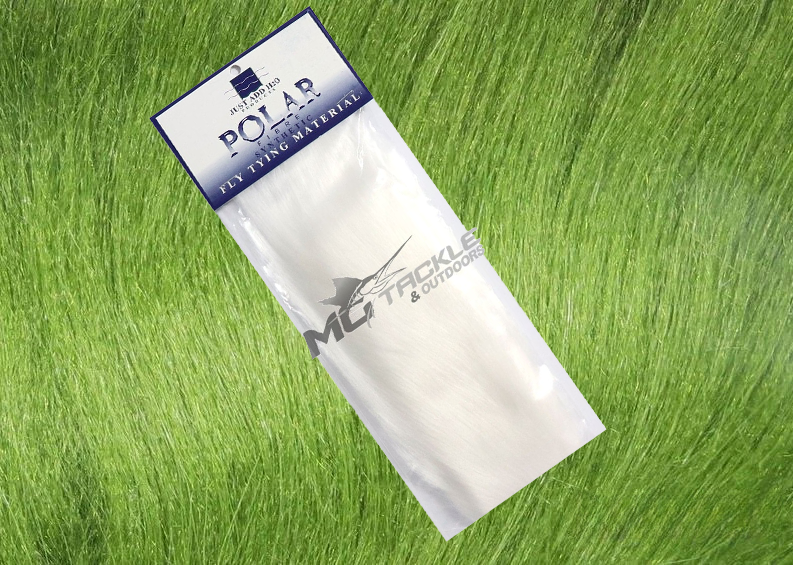
- Tail:Polar Fibre – white and light olive
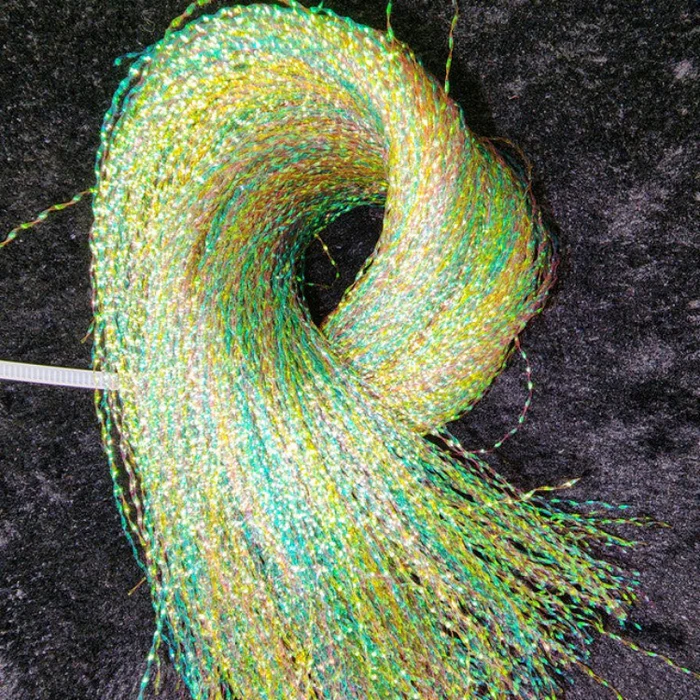
- Flash:DNA Flash, Krystal Flash or similar
- Body:Pearl or silver tinsel
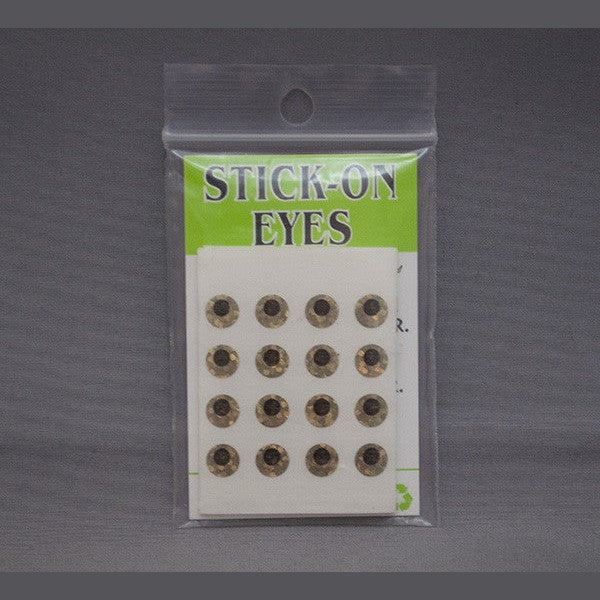
- Eyes:2mm adhesive eyes
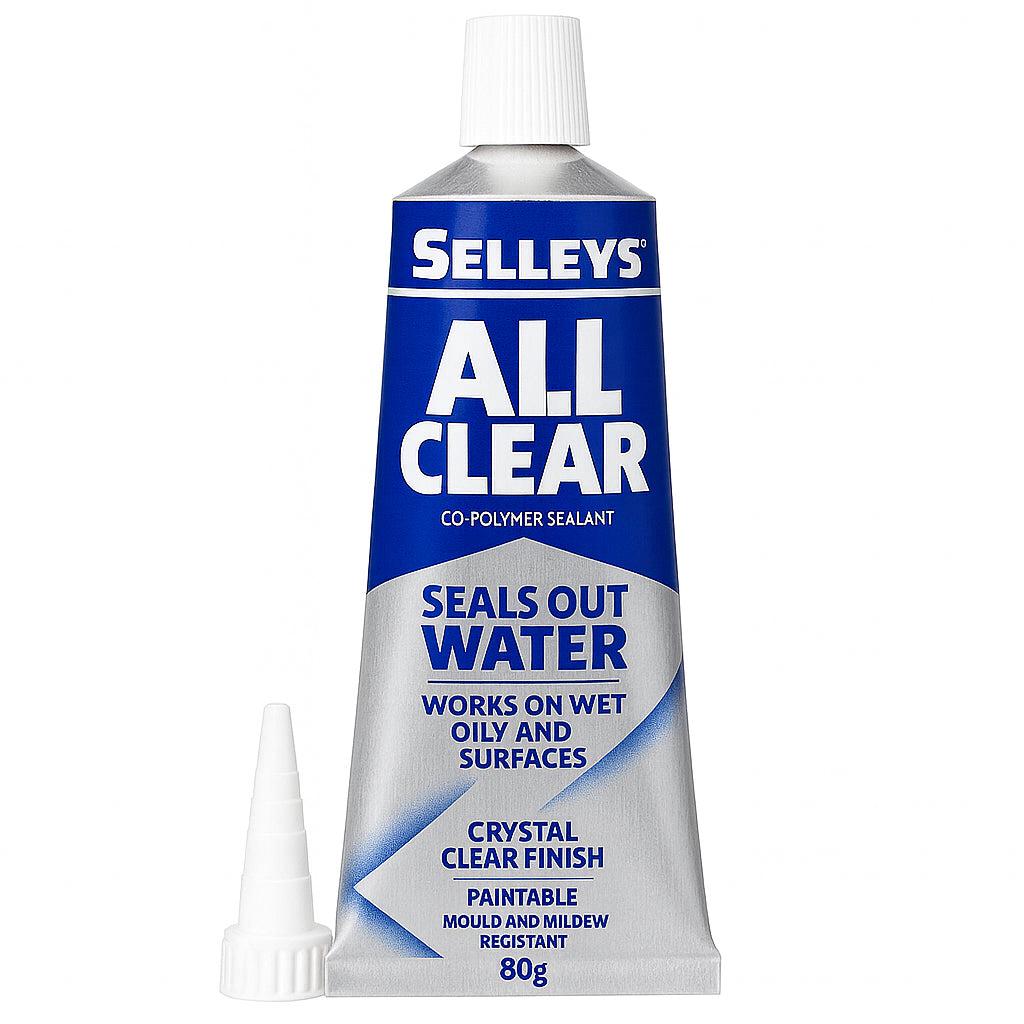
- Head coating:Selleys All Clear clear silicone sealant
- Shaping agent: Water with a little dishwashing detergent
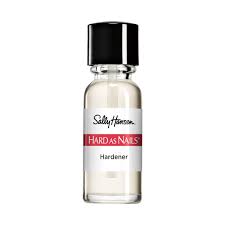
- Optional finish: Sally Hansen’s Hard As Nails

Tying Notes:
Make these flies well ahead of when you intend to fish. Leave them in the sun for several days to allow the Selleys All Clear to firm up. It never becomes completely hard, so finish each fly with a couple of coats of Sally Hansen’s Hard As Nails for added durability.
Although the eyes are self-adhesive, it is advisable to secure them with a suitable adhesive such as Tarzan’s Grip or Selleys Multi-Grip. The adhesive backing alone may not hold the eyes securely when the silicone sealant is applied.
Why Selleys All Clear?
Selleys All Clear is used instead of epoxy to form the fly’s clear, baitfish-shaped body. It’s easier to apply and shape, particularly when tying several flies, as it doesn’t require constant rotation while drying. Unlike epoxy, it is less prone to yellowing and remains flexible after curing, helping the finished fly retain its shape without becoming brittle.
One of the advantages of Selleys All Clear over five-minute epoxy is the time available to work the material. It doesn’t need to be continually rotated while setting, allowing several flies to be shaped without rushing
How To Tie the All Clear Eyes Fly
The All Clear Eyes Fly is tied in two stages. First, construct the fibre tail and tinsel body, then apply and shape the silicone sealant to form the finished head and body.
Please excuse the image quality. The step-by-step photographs were extracted from the original low-resolution video, so some detail is limited.
Start the monofilament thread and lay a base along the hook shank. Cut a small bunch of white Polar Fibre, removing any uneven or loose fibres to produce a neat, tapered bundle.
Tie the fibres in at approximately the hook point, allowing the tail to extend about one hook length or slightly more beyond the bend. Trim the excess material.
Tie in a few strands of flash across the top of the tail. Fold the strands back over themselves and secure them with thread. This helps prevent the flash from pulling out during fishing.
The amount of flash is a matter of preference. It is generally easier to remove excess flash on the water than to add it later.
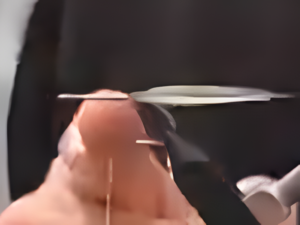
Prepare a second, sparse bunch of light olive Polar Fibre. Tie it over the white fibres to create a two-tone baitfish imitation.
Keep the tail relatively slim and even, avoiding excessive bulk.
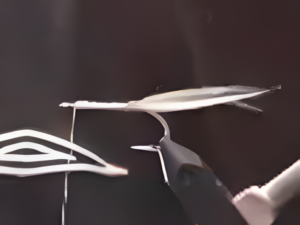
Tie in pearl or silver tinsel and wind it forward along the hook shank towards the eye. Take care not to catch the hook point with the tinsel, as this can cut the material.
Secure the tinsel firmly and trim the excess. Build a small thread head to provide a base for attaching the eyes.
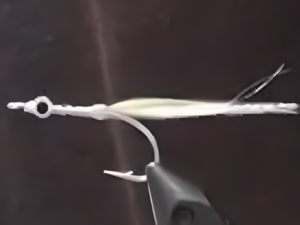
Position a pair of approximately 2 mm adhesive eyes on either side of the head.
Although the eyes are self-adhesive, it is advisable to secure them with a suitable adhesive such as Tarzan’s Grip or Selleys Multi-Grip. The fly needs to be handled during the next stage, and the adhesive backing alone may not hold the eyes securely.
Allow the adhesive to dry before proceeding.
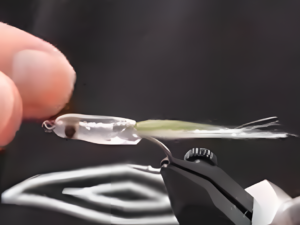
Place a small amount of water in a dish and add a little dishwashing detergent. This mixture is used to wet your fingers and prevent the silicone from sticking while you shape it.
Squeeze a small amount of Selleys All Clear onto the fly. Start with less than you think you need, as it is easier to add more than remove excess.
Work the sealant around the tinsel body, covering the eyes and extending back to the base of the tail fibres. Use your wetted fingers to spread and manipulate the silicone.
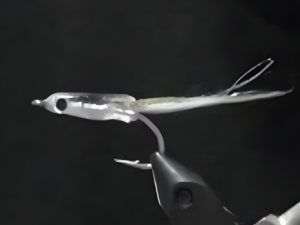
Continue smoothing the sealant until you achieve an even, symmetrical, minnow-shaped profile.
The finished fly should have a slightly tapered, streamlined body, with the eyes clearly visible through the transparent coating. Keep the hook eye free of sealant.
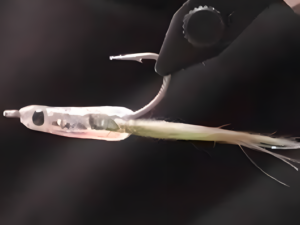
Set the fly aside in a suitable position to cure fully. The original club tying notes recommend preparing these flies several days ahead and leaving them in the sun to firm up.
Selleys All Clear remains somewhat flexible even when fully cured. A couple of coats of clear nail polish, such as Sally Hansen’s Hard As Nails, can be applied as an optional final finish to provide a harder, more durable surface.