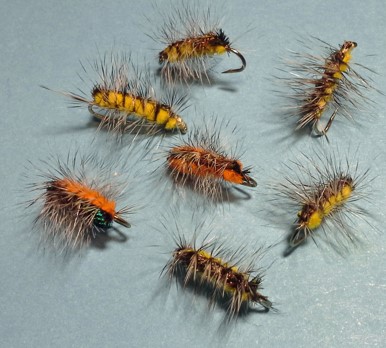
Looking for a fast, effective fly that catches trout in stillwater? Fed’s Red Back and Green Back Pheasant Variants are your answer.
This fly is a personal twist on Phil Rowley’s Green Back and Red Back Pheasant. Like Rowley’s original, it uses contrasting colours and reflective materials to attract trout. However, Fed’s version adds efficiency without sacrificing performance.
Why Contrasting Colours Work for Chironomid Patterns
Trout are constantly scanning for familiar shapes and flashes underwater. Patterns with contrasting colours reflect natural light in ways trout recognise.
Phil Rowley’s original pattern uses a dark pheasant tail body with a synthetic shell back. This creates a segmented, light-catching effect that looks like a real emerging midge.
Fed continues this idea but simplifies the tie. The result is a pattern that’s quick to tie and deadly on the water.
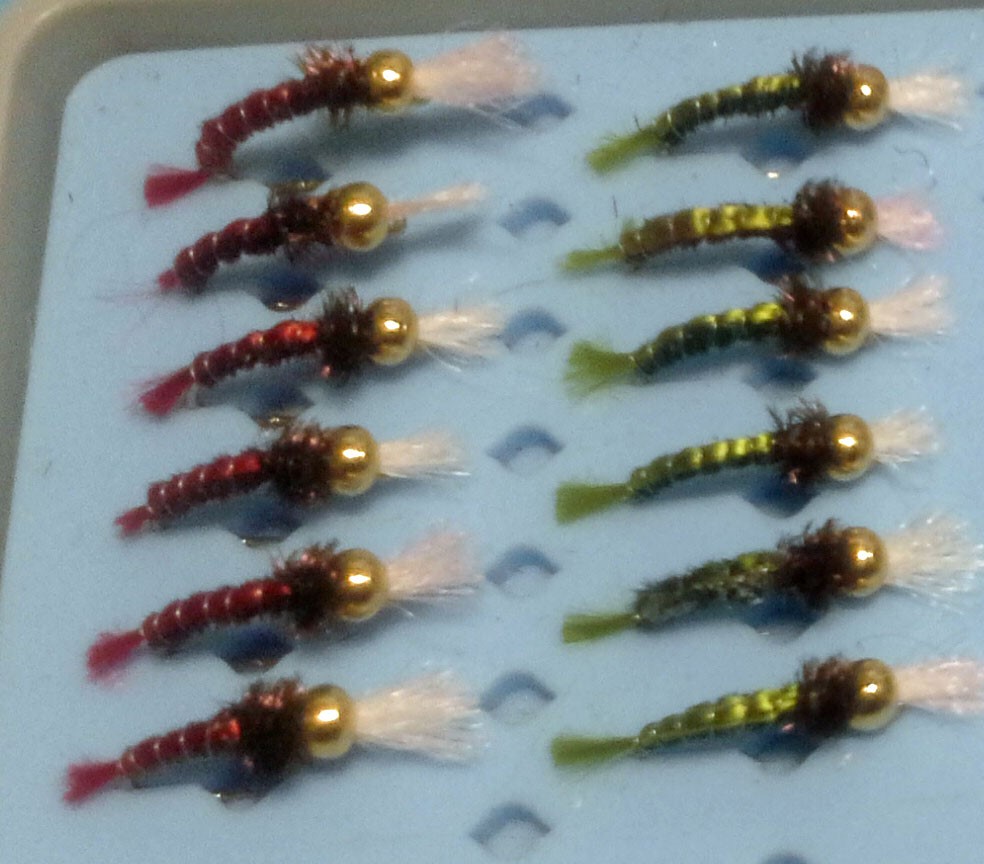
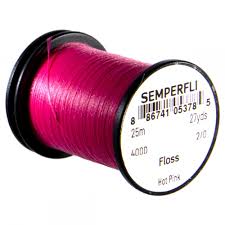
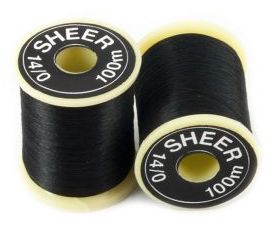
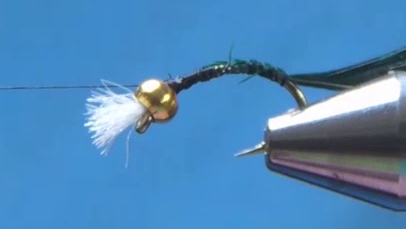
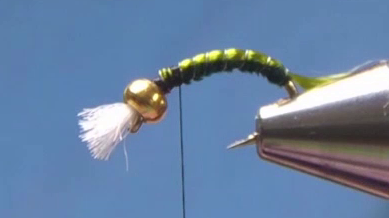
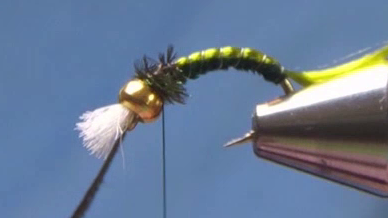
“It takes longer to read the instructions than it does to tie the fly,” says Fed. “Because I use Sheer 14/0 thread, I can make many—probably unnecessary—wraps without clogging the fly. The photo shows the red version. The fly tied here is the green one.”
When and How to Red Back and Green Back Pheasant
Use this fly in stillwater conditions, especially during chironomid hatches. It works well under an indicator or on a slow retrieve.
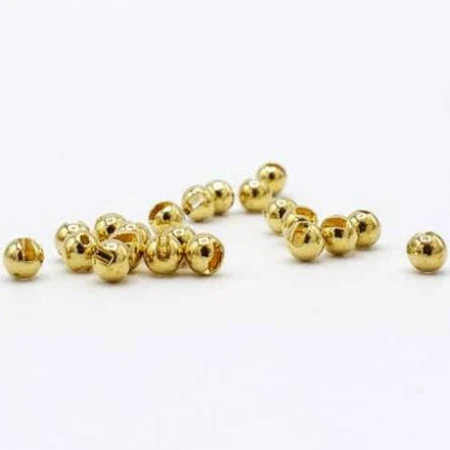
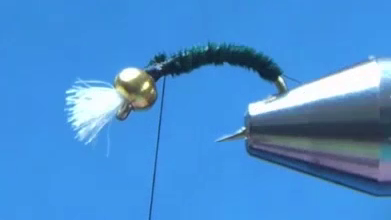
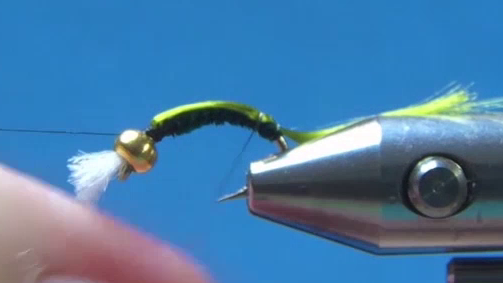
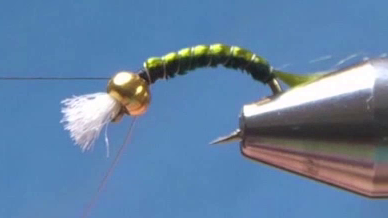
- The gold bead helps the fly sink quickly.
- The red shell back stands out in bright light or murky water.
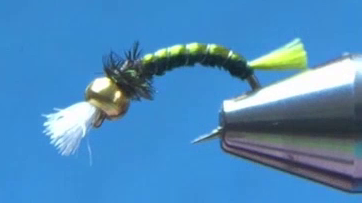
- The green version blends better in clear water and over weed beds.
Switch between red and green depending on water clarity and light conditions. Both provide that essential light “wink” trout love.
A Fast Tie With Proven Results
Fed’s Red Back and Green Back Pheasant is fast, flashy, and functional. It belongs in every stillwater angler’s fly box.
Try both colour variants and see what works best in your local waters. Trout often respond well to colour contrast—and this pattern delivers just that.
Materials
- Hook: Scud size 12
- Bead: Gold 1/8
- Thread: Black Sheer 14/0
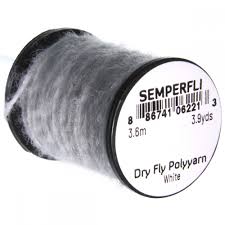
- Gills: White poly yarn
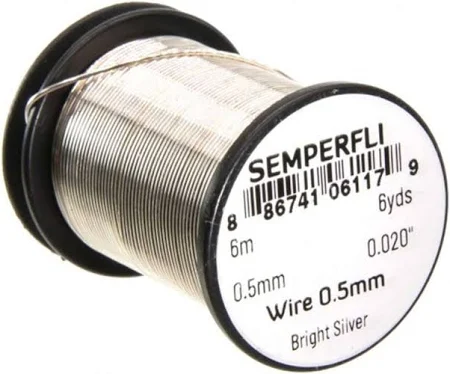
(about half a shank’s worth) - Ribbing: Fine silver wire
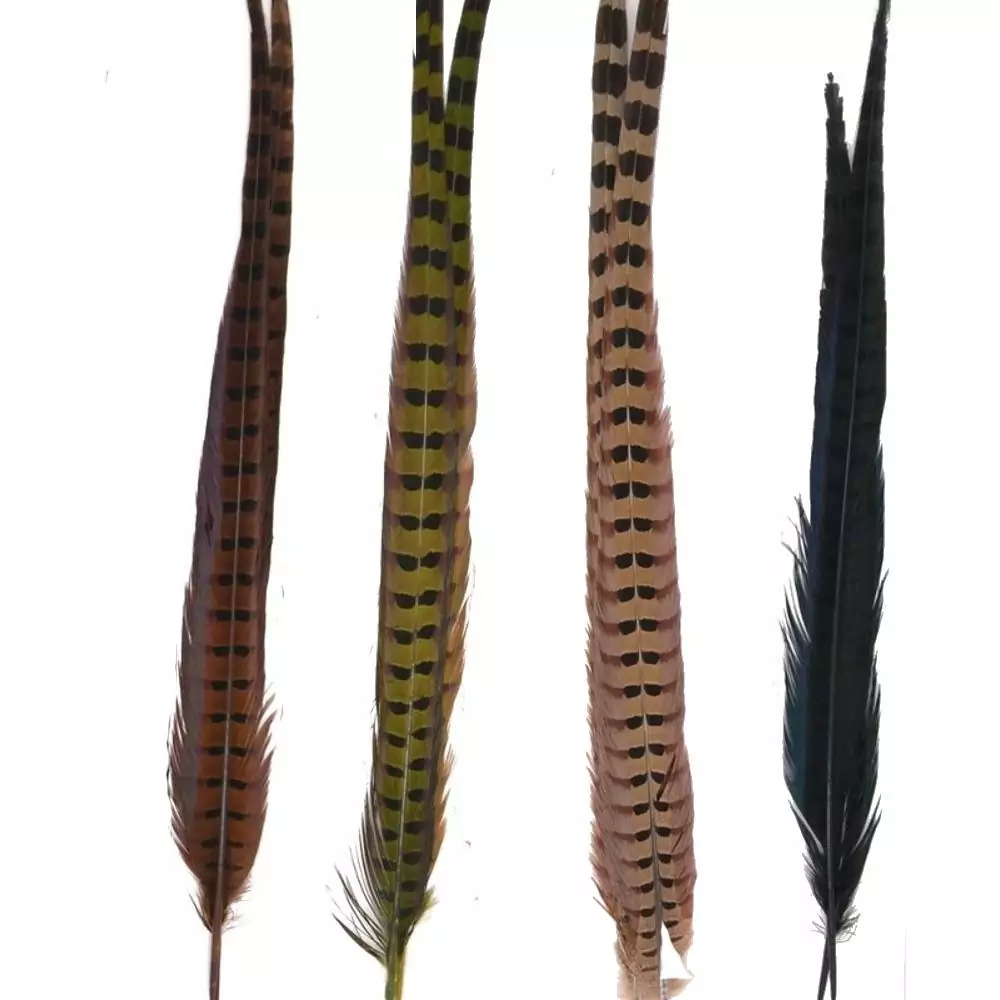
- Body: Pheasant tail fibres
- Thorax: Peacock herl
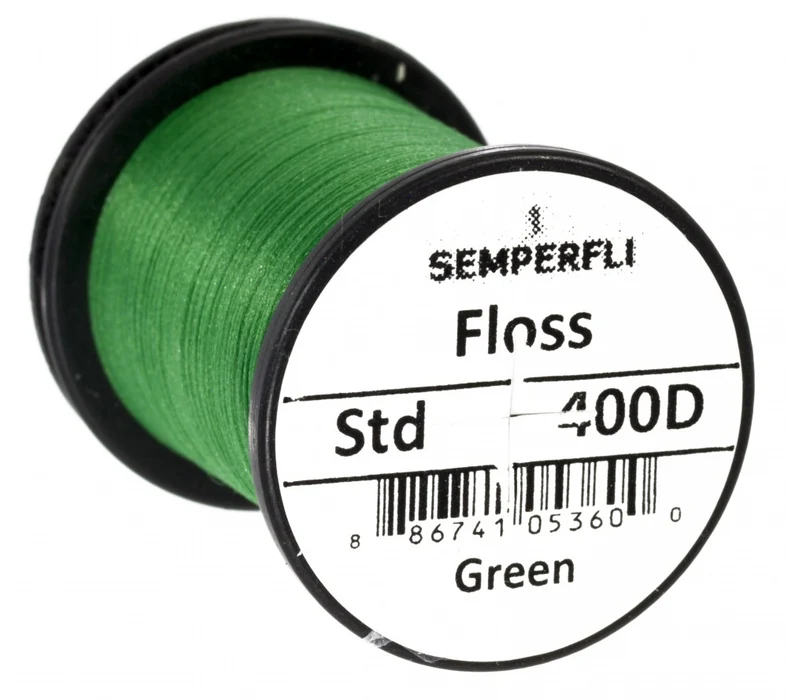
- Shell back: Red or green floss


Tying Instructions
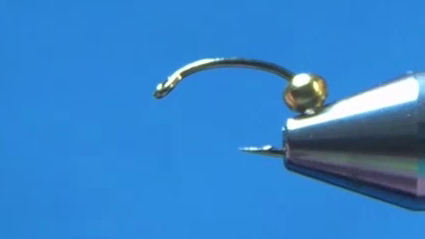
- Prepare the Hook
Crush the barb.
Slide the gold bead onto the hook, small hole first. - Position the Bead
Push the bead back from the eye to give yourself tying space.
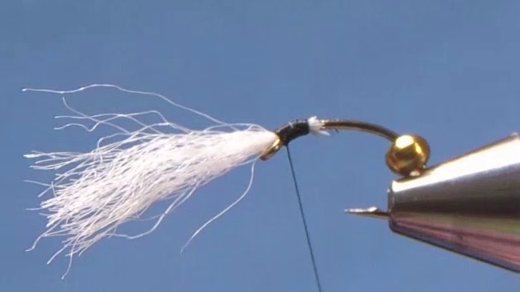
- Start the Thread and Add Gills
Attach the black 14/0 thread behind the hook eye.
Tie in a short length of white poly yarn to form the gills. - Shape the Gill Base
Trim the yarn at a sloped angle to form a smooth ramp up to the hook eye.
This allows the bead to sit snugly at the front.
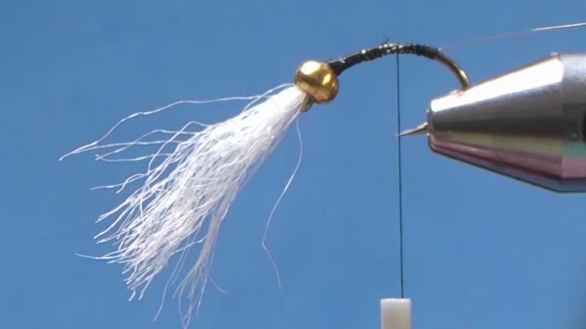
- Move the Bead into Place
Slide the bead forward to the hook eye.
Reattach the thread behind the bead. - Tie in the Ribbing
Attach the fine silver wire just behind the bead.
Wrap the thread back to the hook bend to secure the wire.
- Add the Body Material
Tie in 3–4 pheasant tail fibres by the tips at the bend of the hook. - Trim the Gills
Attach the fine silver wire just behind the bead.
Cut the gills to match the length of the bead (roughly 1/8 inch)..
- Form the Body
Wrap the pheasant tail fibres forward to form a smooth body.
Leave space behind the bead for the thorax and shell back.
Tie off and trim excess.
- Add the Shell Back
Tie in red or green floss behind the bead.
Fold it back over the body so it lays flat.
Palmering the Shell Back (Ribbing and Segmentation)

- Anchor the Wire
Make one turn of the wire around the bare hook shank at the rear to anchor it. - Wrap the Wire
Hold the shellback floss in place near the rear of the body.
Make one turn of the wire over the floss to secure it.
- Continue the Ribbing
Wrap the wire forward in even turns.
Apply downward pressure after each wrap to seat it securely.
- Finish the Ribbing
Make two tight wraps of thread over the wire to tie it off.
The last thread wrap will lock the wire in place.
Trim both the wire and floss.
Finish the Body
- Add the Thorax
Tie in a strand of peacock herl behind the bead.
Make six tight wraps to form a dense thorax.
- Complete the Fly
Tie off the peacock herl.
Whip finish behind the bead and trim your thread.