Fed’s Lake Shasta Smelt Variants offer anglers effective, modern takes on one of Northern California’s most important baitfish patterns. Drawing from the classic FFI Fly Pattern Encyclopedia entry by Robert Meuschke, the Fed presents two tailored versions — one for freshwater and one for saltwater — each designed to match local smelt with lifelike flash and profile.
What Is the Classic Lake Shasta Smelt Pattern?
Lake Shasta, tucked away in Northern California, is a prime water not only for trout and bass, but also for mimicking one of the lake’s most important forage species: the smelt.
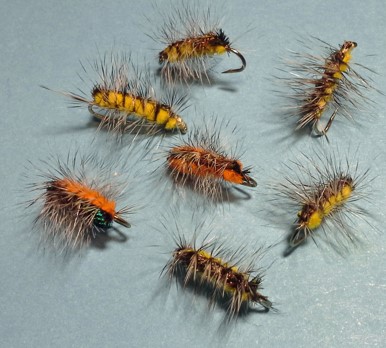
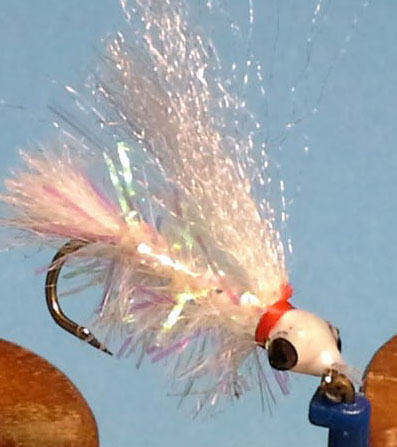
At its heart, the Lake Shasta smelt is a streamer designed to imitate the slender, shimmering minnow that prowling predators love to eat. The traditional dressing (as described in the FFI encyclopaedia) includes:
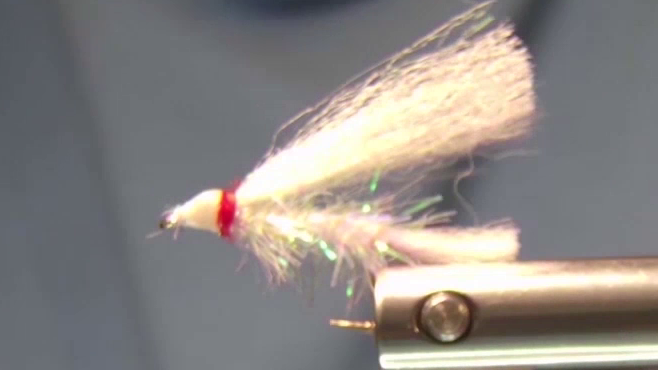
These materials combine to give the fly a realistic, flashing appearance in the water — especially when stripped or swung under tension.
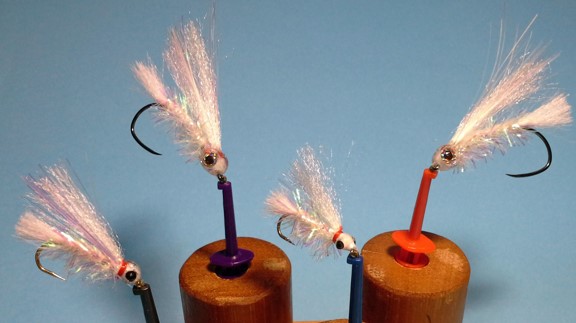
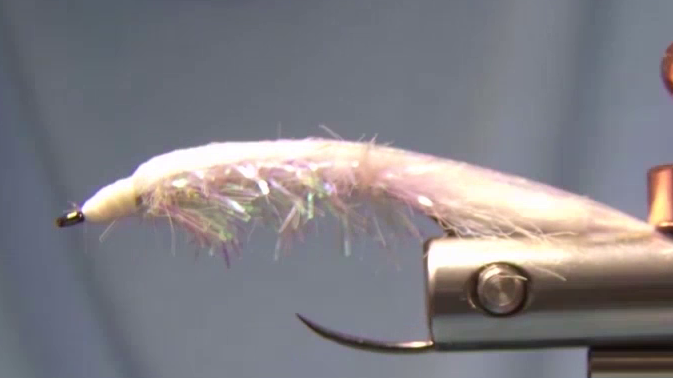
Fed’s Freshwater Variant
For Lake Shasta, where freshwater trout and bass patrol shallows and drop-offs, the Fed’s freshwater version remains very close to the original.
Materials
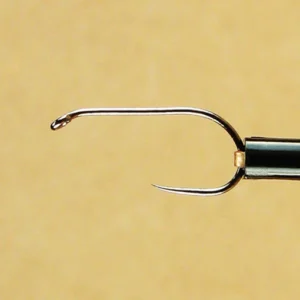
- Hook:3x size 8
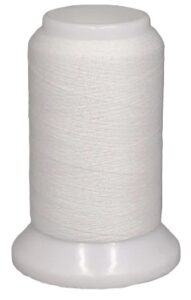
- Thread:White woolly nylon
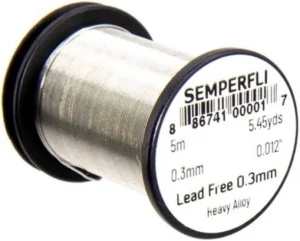
- Weight:8 turns .02 lead free wire
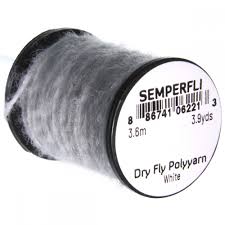
- Tail:White poly-yarn
- Body:Pearl crystal chenille
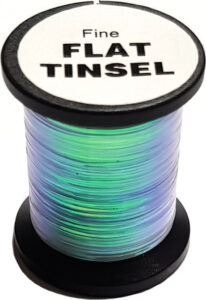
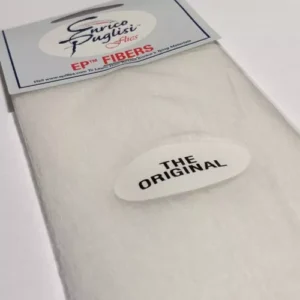
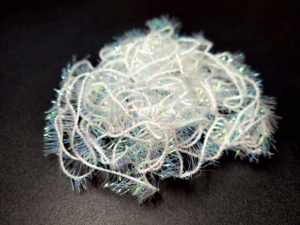
- Wing:Pearl Lureflash and crystal soft EP like fibres
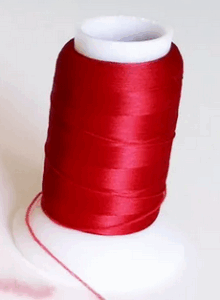
- Gills:Red Woolly Nylon thread
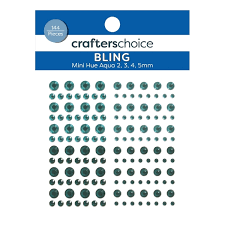
- Eyes:Crafters Choice Bling – coloured black with a Sharpie pen
- Head:Thread coated with UV resin
Tying Instructions
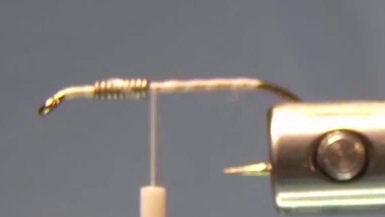
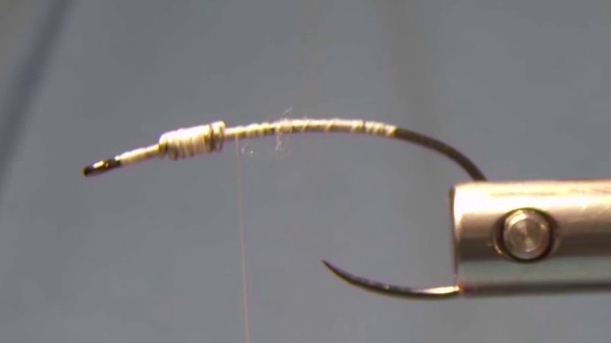
- Add lead-free wire to the hook, stopping about one eye-length short of the front.
- Cover the entire hook shank with thread.
- Tie in the tail material, using roughly a hook-gap length.
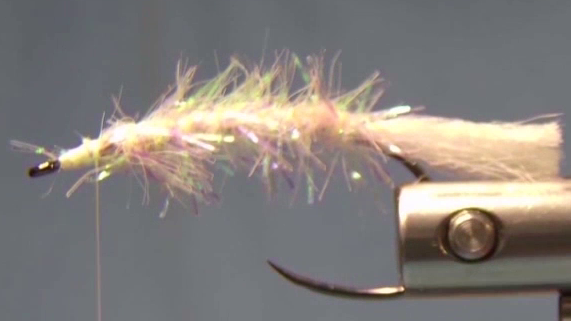
- Tie in the chenille and wrap it forward to just behind the eye.


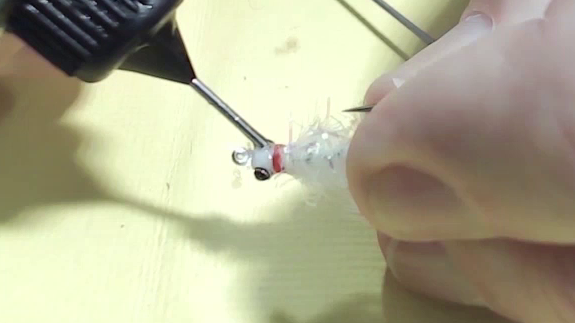
- Tie in the wing, matching the length of the tail.
- Build a neat, well-shaped head and whip finish.
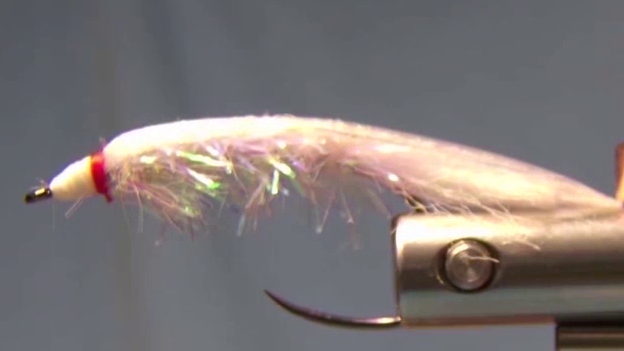
- Add three tight wraps of red thread directly behind the head and whip finish again.
- Tie all flies to this stage before adding eyes.

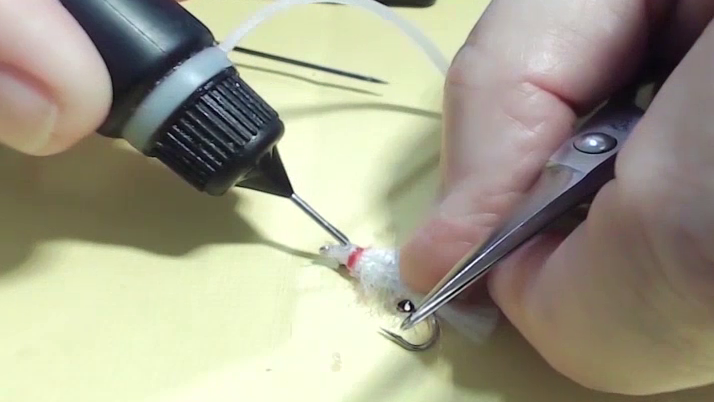
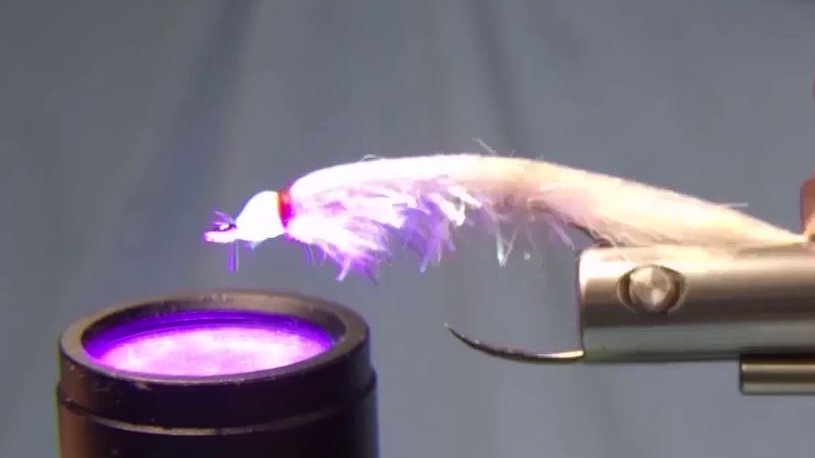
Head & Eyes:
- Apply a small drop of UV resin to set an eye on each side.
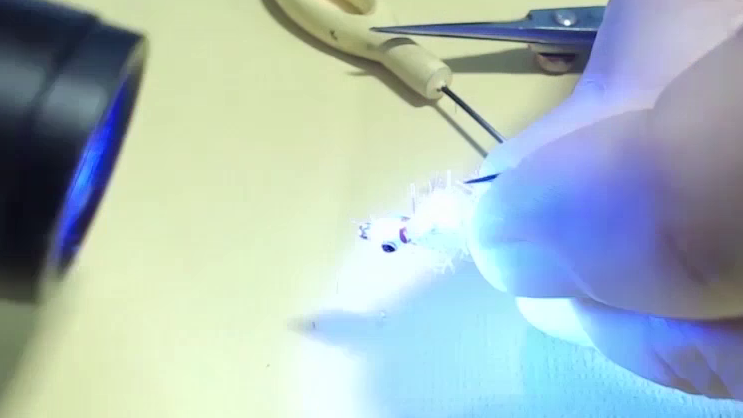
- Use UV resin to shape a clean, smooth final head and cure thoroughly.
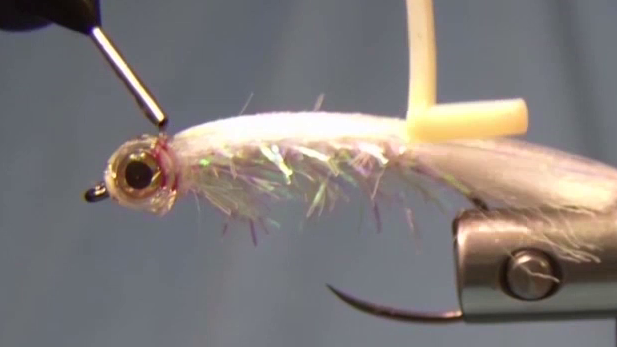
Saltwater Variant
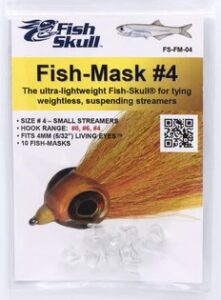
In more brackish or coastal waters, or when targeting species that respond to smelt-like saltwater forage, Fed’s saltwater variant adds a couple of killer touches, most notably a fish mask, while retaining the core of the original pattern.
The fish mask gives the fly a more realistic baitfish head profile. This “mask” can also help protect thread wraps and blend the head into the body.
You can make the hot spotgills slightly more pronounced in the saltwater version (e.g., with brighter red material), since in saltwater, visibility and contrast can be more critical.
Materials
- Hook:Firehole wide gape size 4
- Thread:White woolly nylon
- Weight:6 turns .03 lead free wire
- Tail:White poly-yarn
- Body:Pearl crystal chenille
- Wing:Pearl Lureflash and crystal soft EP like fibres
- Gills:Red Woolly Nylon thread
- Eyes:Crafters Choice Bling – coloured black with a Sharpie pen
- Head:Fish mask #4 with 4mm living eyes
Tying Instructions
- Add lead-free wire to the hook, stopping about one eye-length short of the front.
- Cover the hook shank with thread.
- Tie in the tail material, using approximately a hook-gap length.
- Tie in the chenille and wrap it forward to just behind the eye.
- Tie in the wing, matching the tail length.
- Build a solid, tapered thread head and whip finish.
- Add three tight wraps of red thread behind the head and whip finish again.
- Tie all flies to this stage before adding heads and eyes.
Head & Eyes
- Lightly coat the thread head with UV resin and cure.
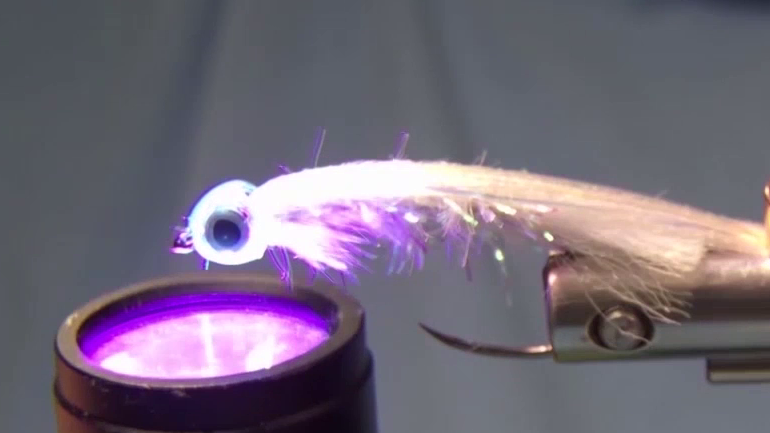
- Apply a fresh coat of UV resin, slide the fish mask onto the hook, and cure to secure it in place.
- When filling the back of the fish mask with additional resin, be aware that the red thread wraps may bleed slightly into the resin.