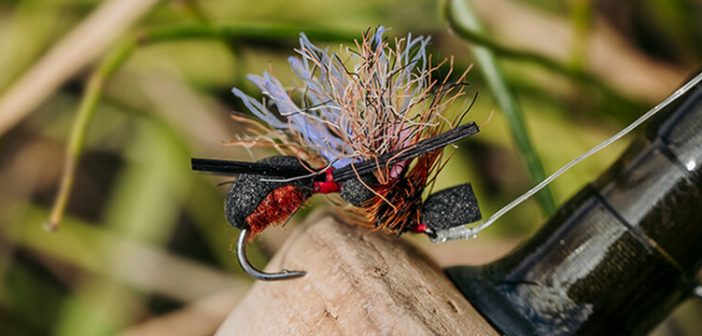
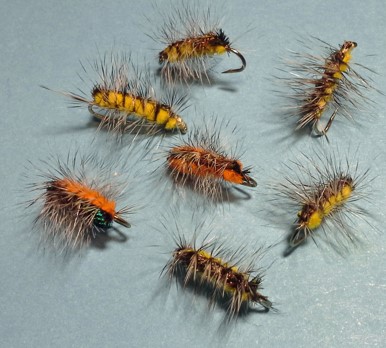
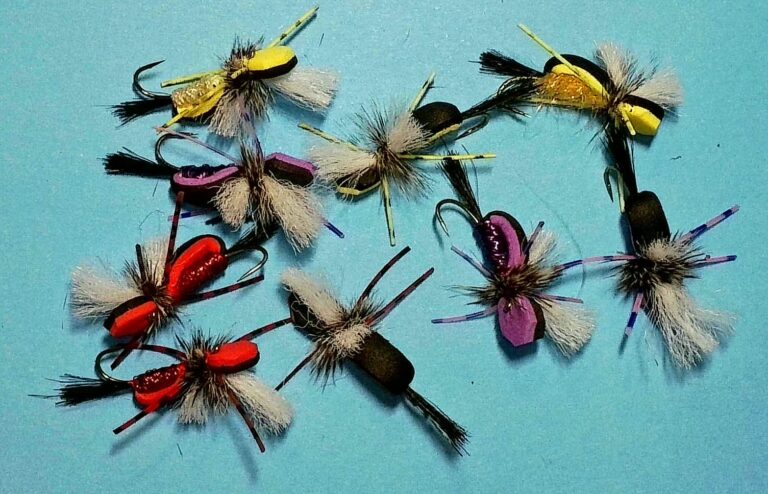
Created by Charlie Craven, the Fat Angie began as a much more realistic and singular imitation of a flying ant. However, it has morphed into a far more general attractor pattern that lends itself well to a variety of insect types.
“The Fat Angie began as a notion that has rolled around in my head for over ten years. I’ve always wanted to design a general terrestrial pattern that wasn’t so specific as to imitate only an ant, or only a beetle or only any one of the variety of wingered/stingered critters I’ve seen drifting along current seams over the years.”
Signature Tyer Charlie Craven
The Fat Angie is tied on a curved Klinkhammer style hook to set the butt end realistically down in the surface film and a foam body for both durability and flotation.
It is then finished off with durable super floss legs, a hot pink indicator for visibility and a multi-tonal polypropylene macramé yarn wing (Charlie says that this yarn is the most buoyant material he has ever used) and topped with a few strands of UV Blue Ripple Ice Fibre to add some sheen.
Materials
- Hook – Daiichi 1160 #12-20.
- Thread – Veevus 14/0 Red
- Body – Black Foam ‘3 mm
- Abdomen – Mahogany or rusty brown Superfine Dubbing.
- Legs – Black Super Floss.
- Wings – Polypropylene Macramé Yarn, smoke, rust, and gold mixed, topped with UV Blue Ripple Ice Fibre. READ PAUL’S TIPS
- Hackle – Brown Rooster Neck or Saddle.
- Thorax – Mahogany Superfine Dubbing
Paul’s Tips
With my apologies to Mr Craven.
- Use Red Woolly Nylon
- Cover whole hook with thread to start after applying Sally Hansen’s on the hook. Prevents foam turning on the hook.
- Use 2mm foam instead of 3mm
- Any black legs will do. Trim the legs right after you tie them on.
- The wing can be the Craven recipe or a mix of the white and chartreuse poly yarn I gave you. More white than chartreuse.
- Trim the wing right after you tie it on.
- Don’t bother dubbing a thorax. Just cover it with the hackle.
- Half hitch whip finish. One turn on the half hitch tool is a half hitch. Two turns is a whip finish.
Tying Instructions
1 Start Red thread at the halfway mark and back to the barb. Sap-a-gap.


2 Tie in foam about the hook point back to the end of the thread.
3 Tie in foam about the hook point back to the end of the thread.


4 Dub in the abdomen – big fat body. Cover the rest of the hook with thread.
5 Pull the foam over and tie it off – thread a little bit forward of the tie in spot and wrap back to form a waist.


6 Tie leg on each side. Move thread under the foam one third
7 Thread up and down again to form another segment.


8 Move thread forward to make another segment at the hook eye. Form another waist.
9 Combine the ice fibre and the poly-yarn. Tie in the wing material, split it into two wings. Dub in the thorax with same dubbing as the body.

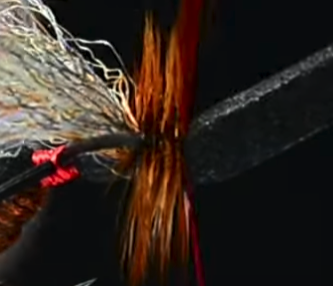
10Tie in the hackle and fill the thorax with the hackle.
11Tie off and half hitch or whip finish on the eye of the hook. Trim the front foam, trim the wings

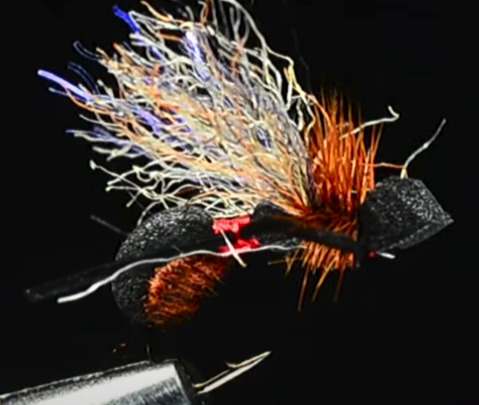
12While black is the most obvious colour choice, Charlie also tied them in tan, olive, purple, and red, and fished them with excellent results
